How To Remove Acrylic Nails at Home — A Nail Pro Reveals Her 5 Easy Steps
A professional manicurist reveals the best way to get your nails back to "neutral" without harming them

If you’re like us, you love how acrylic nails make your nails look longer and feel stronger, but you don’t love how high maintenance they can be. And whether you’ve gotten the nail enhancers for a special occasion or they’ve become grown out or you just want a clean slate so your nails can breathe, you don’t always want to head to the salon to have them removed. So knowing how to remove acrylic nails ourselves can come in handy. (Click through for a primer on acrylic nails.)
One caveat: As frustrating as it can be when we just want acrylic nails off immediately, try as hard as you can to “avoid biting, ripping or lifting off artificial nails,” says Morgan Haile, manicurist, and brand ambassador for Gelish. Doing so “causes damage to the surface of the nail which causes weak nails and can also be painful.”
Read on for Haile’s step-by-step process for how to remove acrylic nails safely and easily yourself.
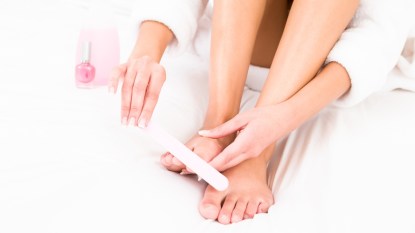
The supplies you’ll need to remove acrylic nails at home
Before you start the removal process, here are all the tools you’ll need to have on hand.
- Nail clipper
- Nail file
- Nail buffer
- Nail polish remover (acetone)
- Cuticle oil
- Hand cream
- Orangewood stick (cuticle pusher)
- Cotton balls
- Aluminum foil (optional)
The steps for how to remove acrylic nails
After gathering up your supplies, simply follow these five steps from Haile to safely remove acrylics at home.
1. Cut nails down to size

This first step is the easiest part of the process: Trim off as much of the faux nail plate as you can on each nail. The more acrylic that remains, the more you’ll have to remove later, so it’s best to cut off the overhanging sections.
2. File off the acrylic surface
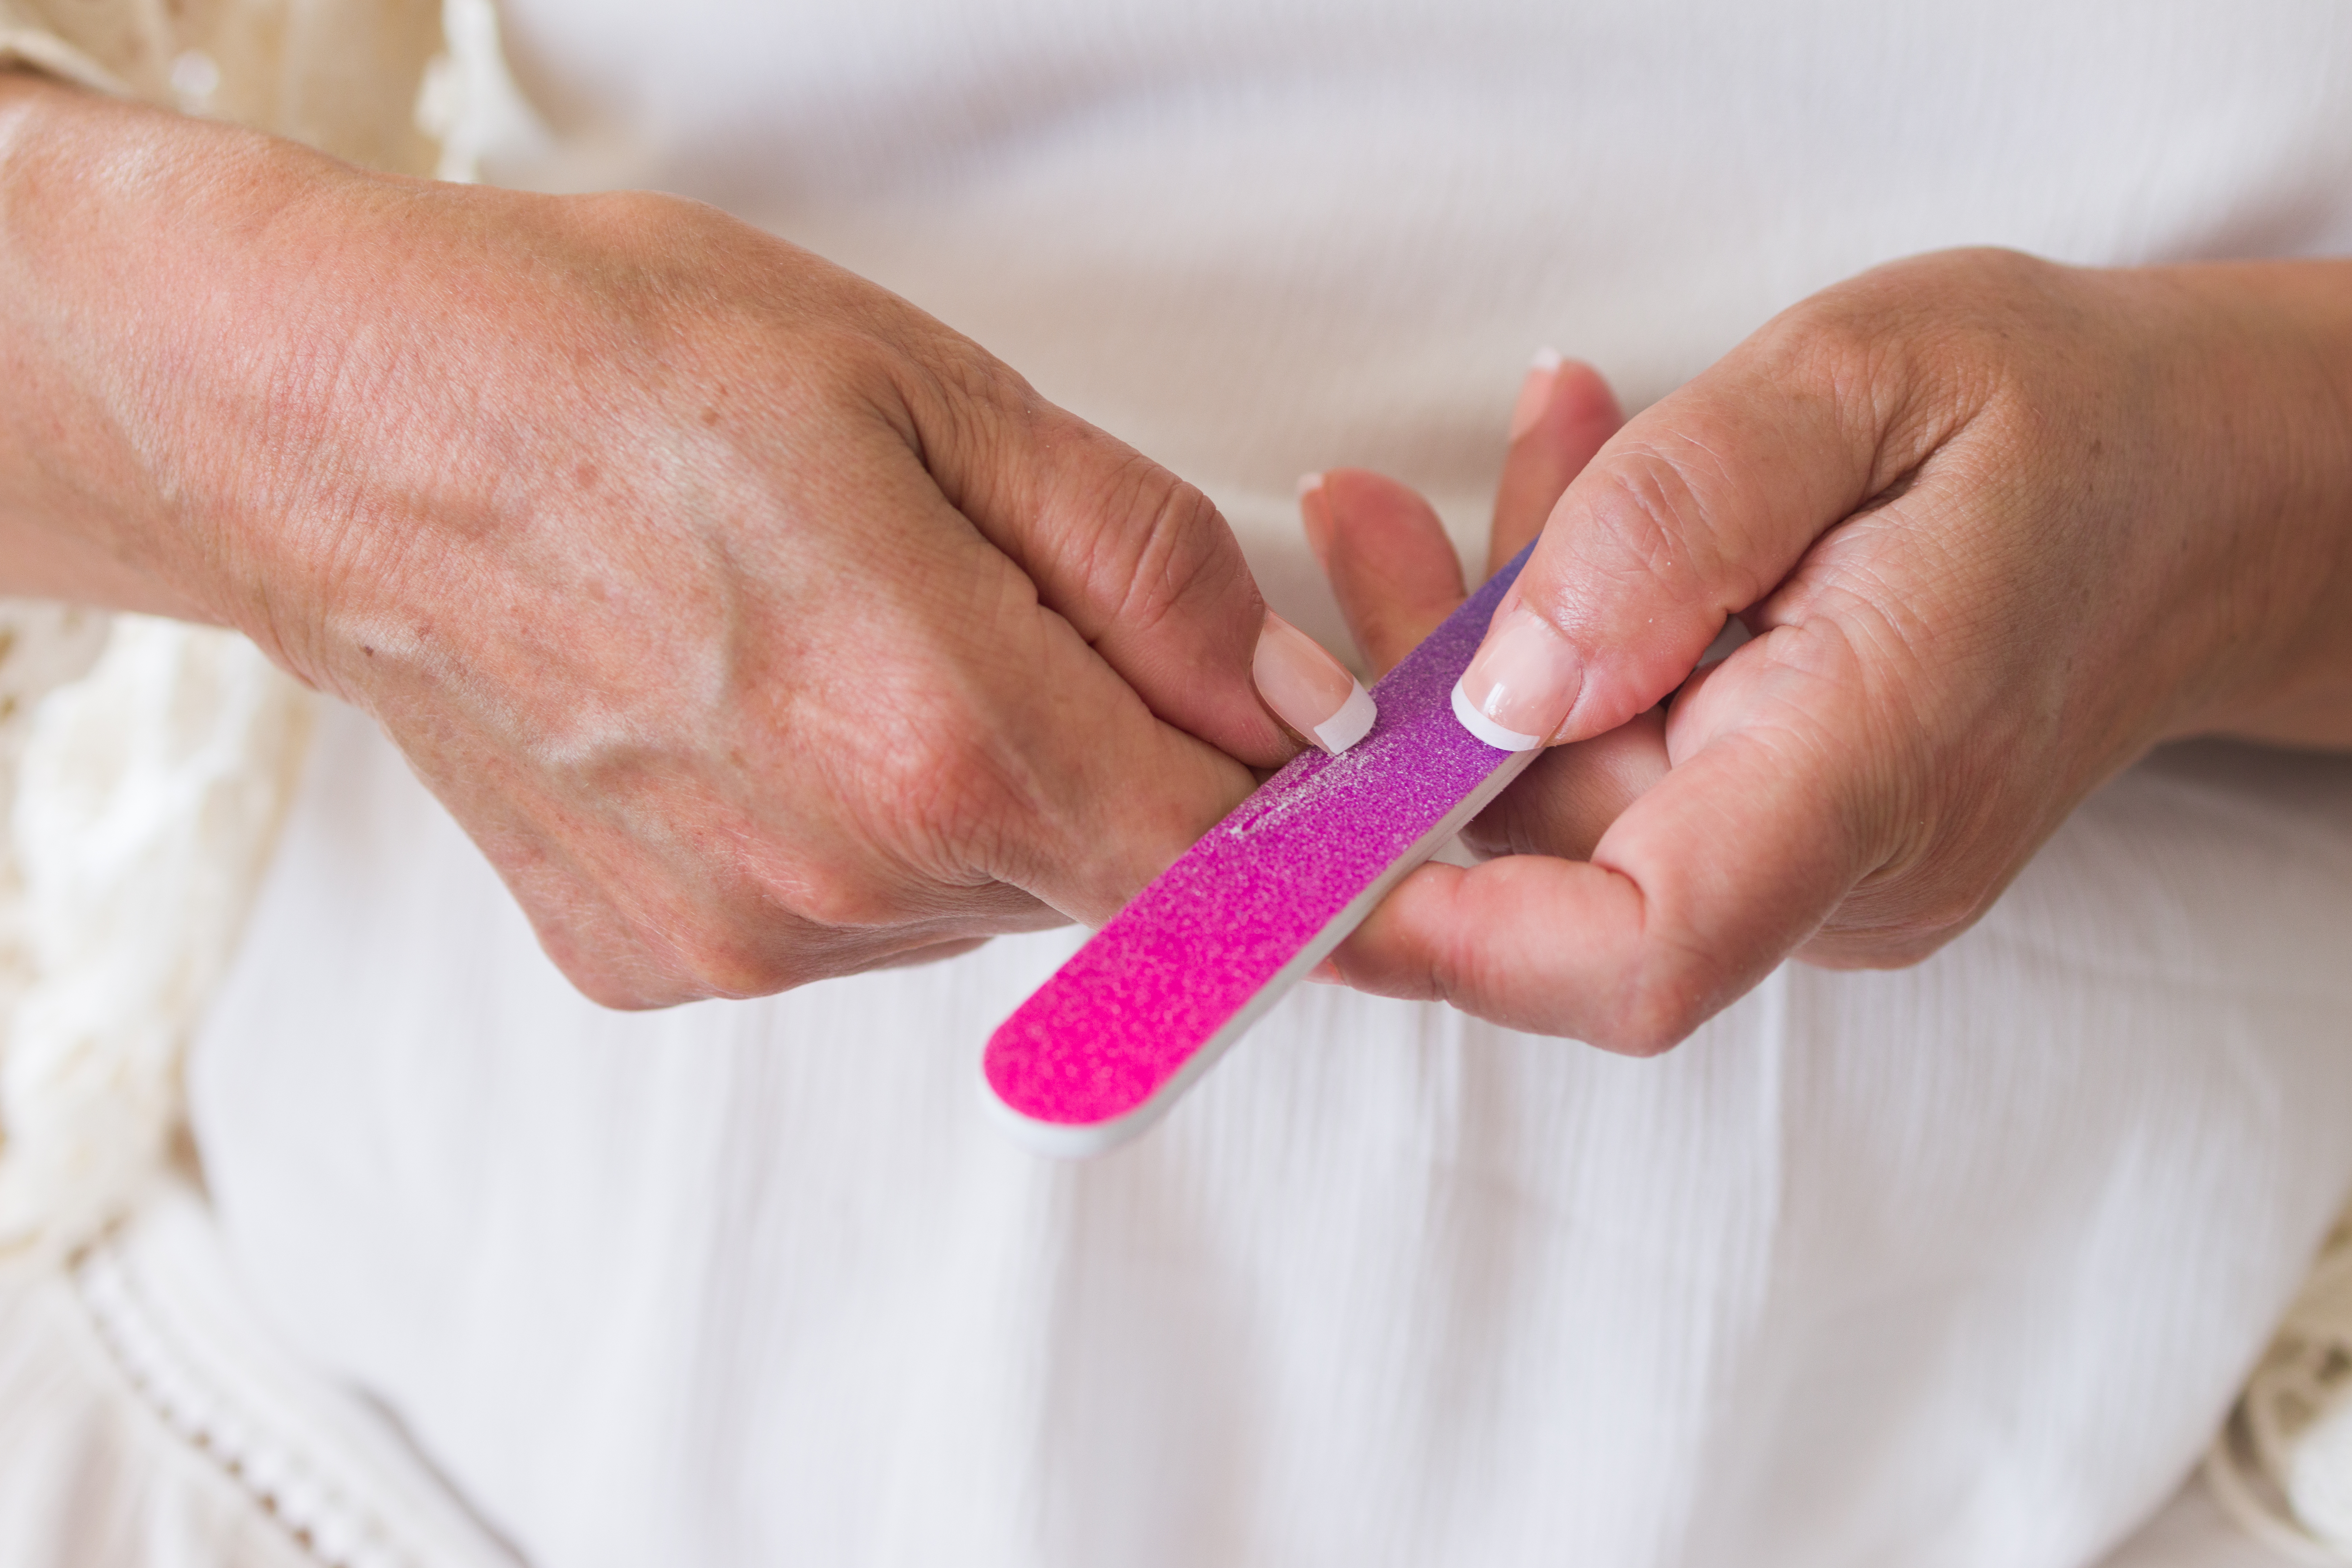
This part can take a while, but it’s worth the effort. The goal is to strip off the top layer of nail polish using a nail file. It’s ideal to use a file that has varying degrees of grain (coarse, medium, fine and ultra-fine). Begin with coarser grains and work your way down to finer grains as you get closer to your natural nail. It’s best to work slowly and methodically when filing nails to prevent damage to the skin surrounding your nails, especially cuticles and fingertips.
How to know when you’re finished filing? Follow this simple rhyme: “The finish line is no more shine.” It’s best if there’s not even the slightest sheen left on nails, so that the acrylic can more easily be removed in the next step, says Haile.
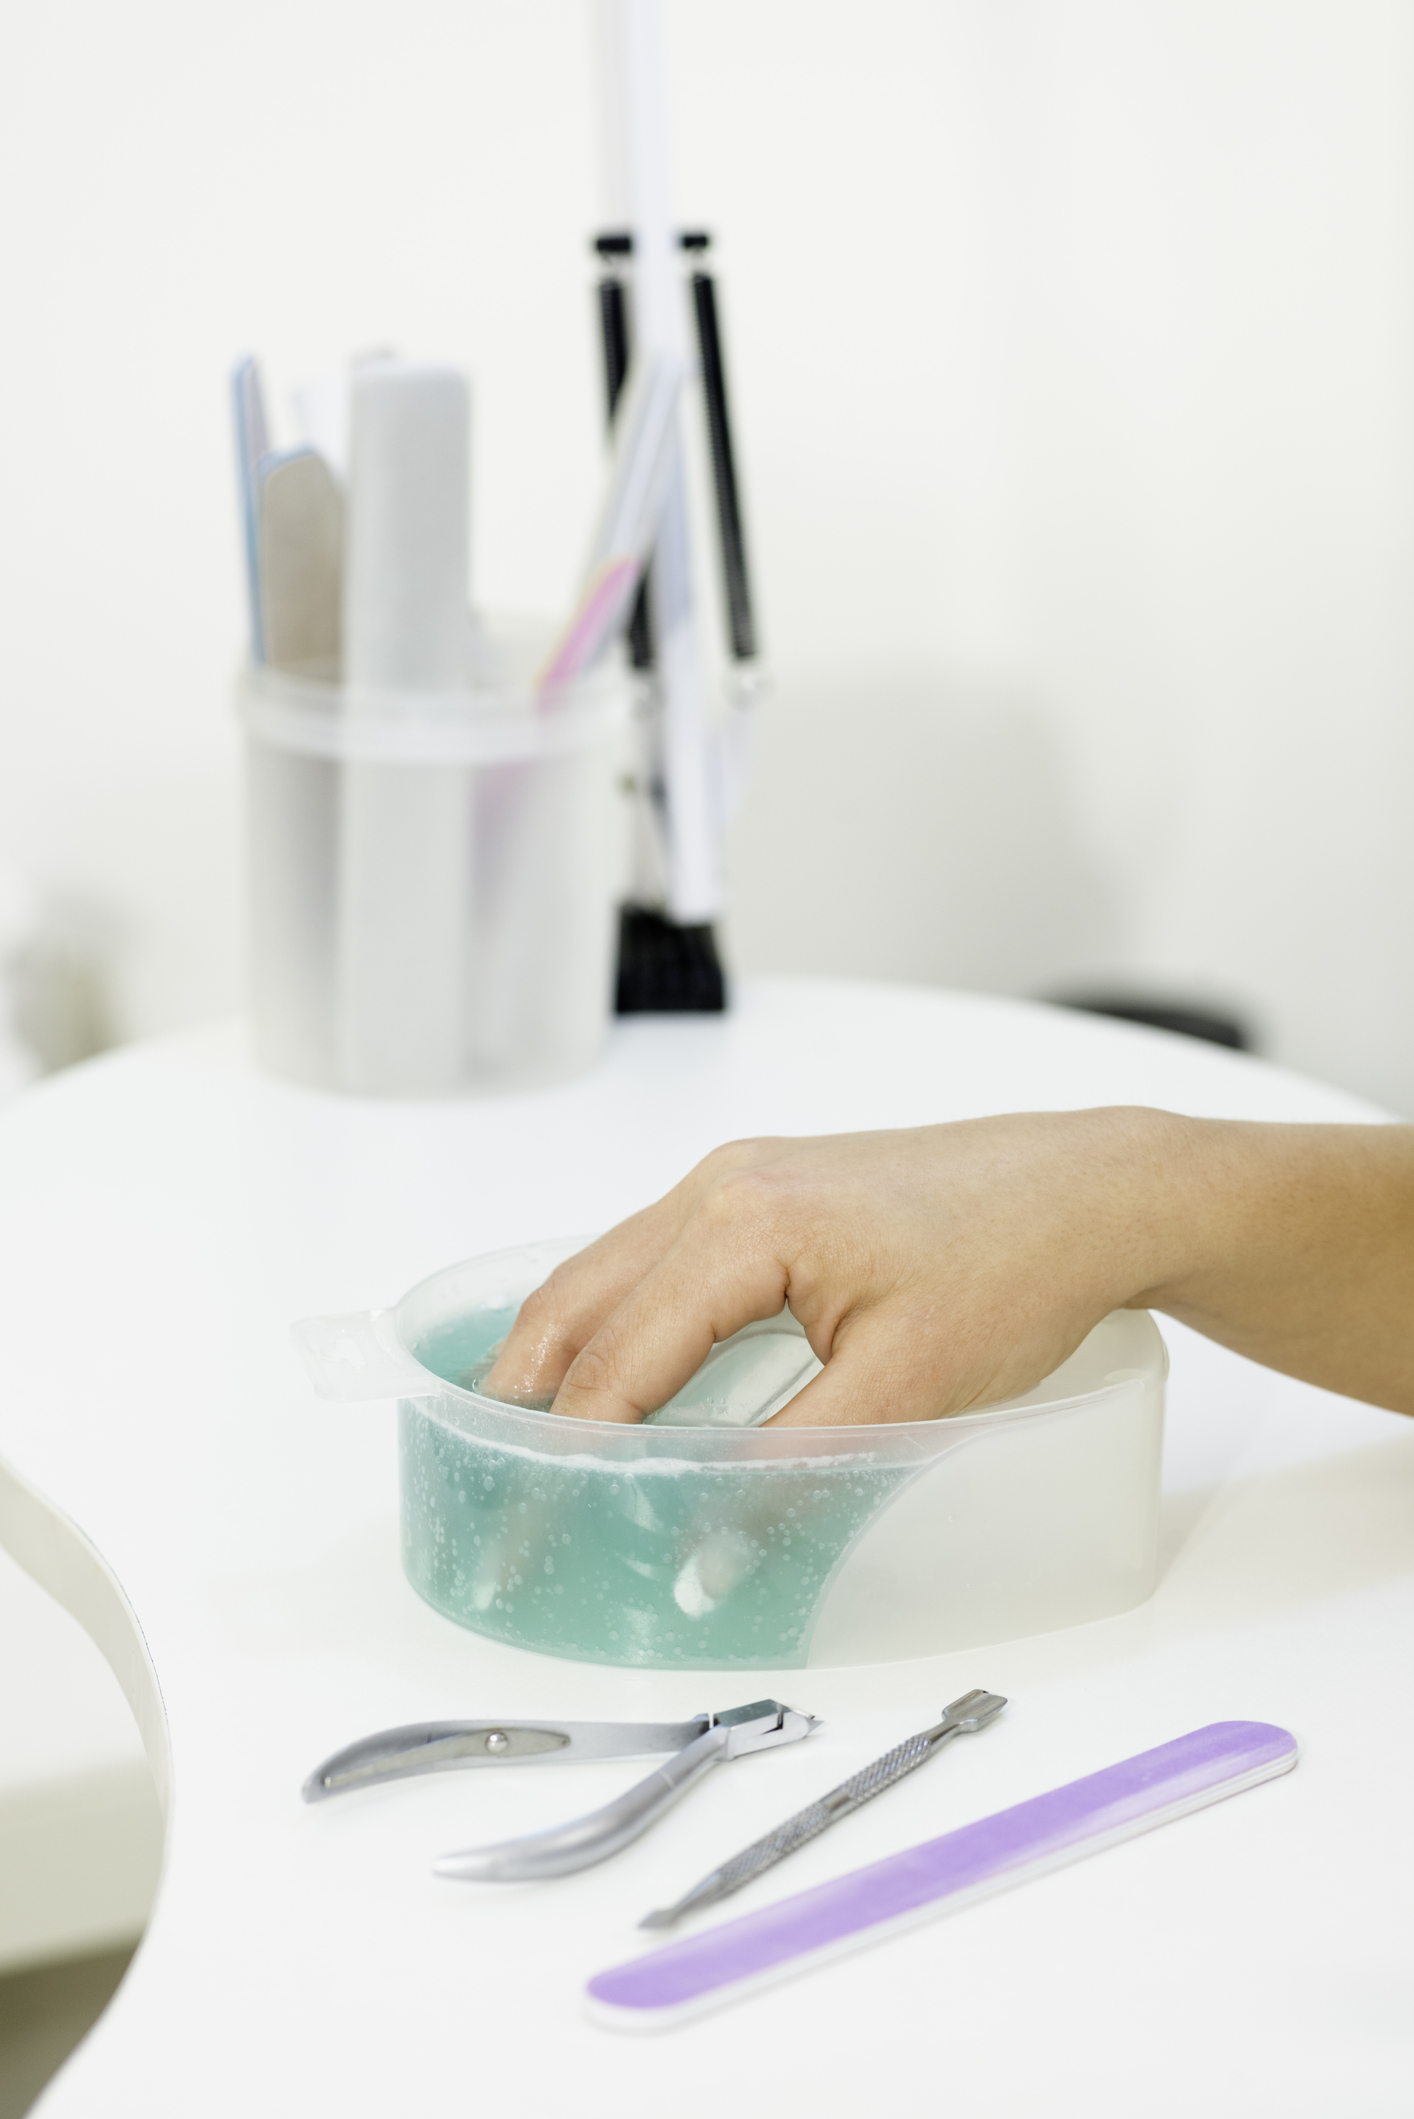
3. Soak nails in acetone
For this step it’s best if your remover is pure acetone for the best outcome. That’s because studies show that diluted nail polish remover will take much longer and is much less effective.
To start, warm the acetone bottle under semi-hot water then pour a small amount into two small bowls. Important note: Acetone is flammable, so other heating methods are not recommended. Additionally, steer clear of open flames or keep lit candles away during the removal process.
Next, place hands and nails into the bowls so your nail beds are completely submerged. Soak nails for 15 to 20 minutes. This gives the acetone time to break down and soften the remaining acrylic surface so it can be buffed off in the next step.
If you’re concerned about skin irritation from soaking hands in acetone, do this trick instead: Soak cotton balls in acetone and place them on top of nails. Then, wrap each nail with a small piece of aluminum foil to hold the cotton balls in place. Let sit 15 to 20 minutes, then remove.
4. Buff off any remaining acrylic
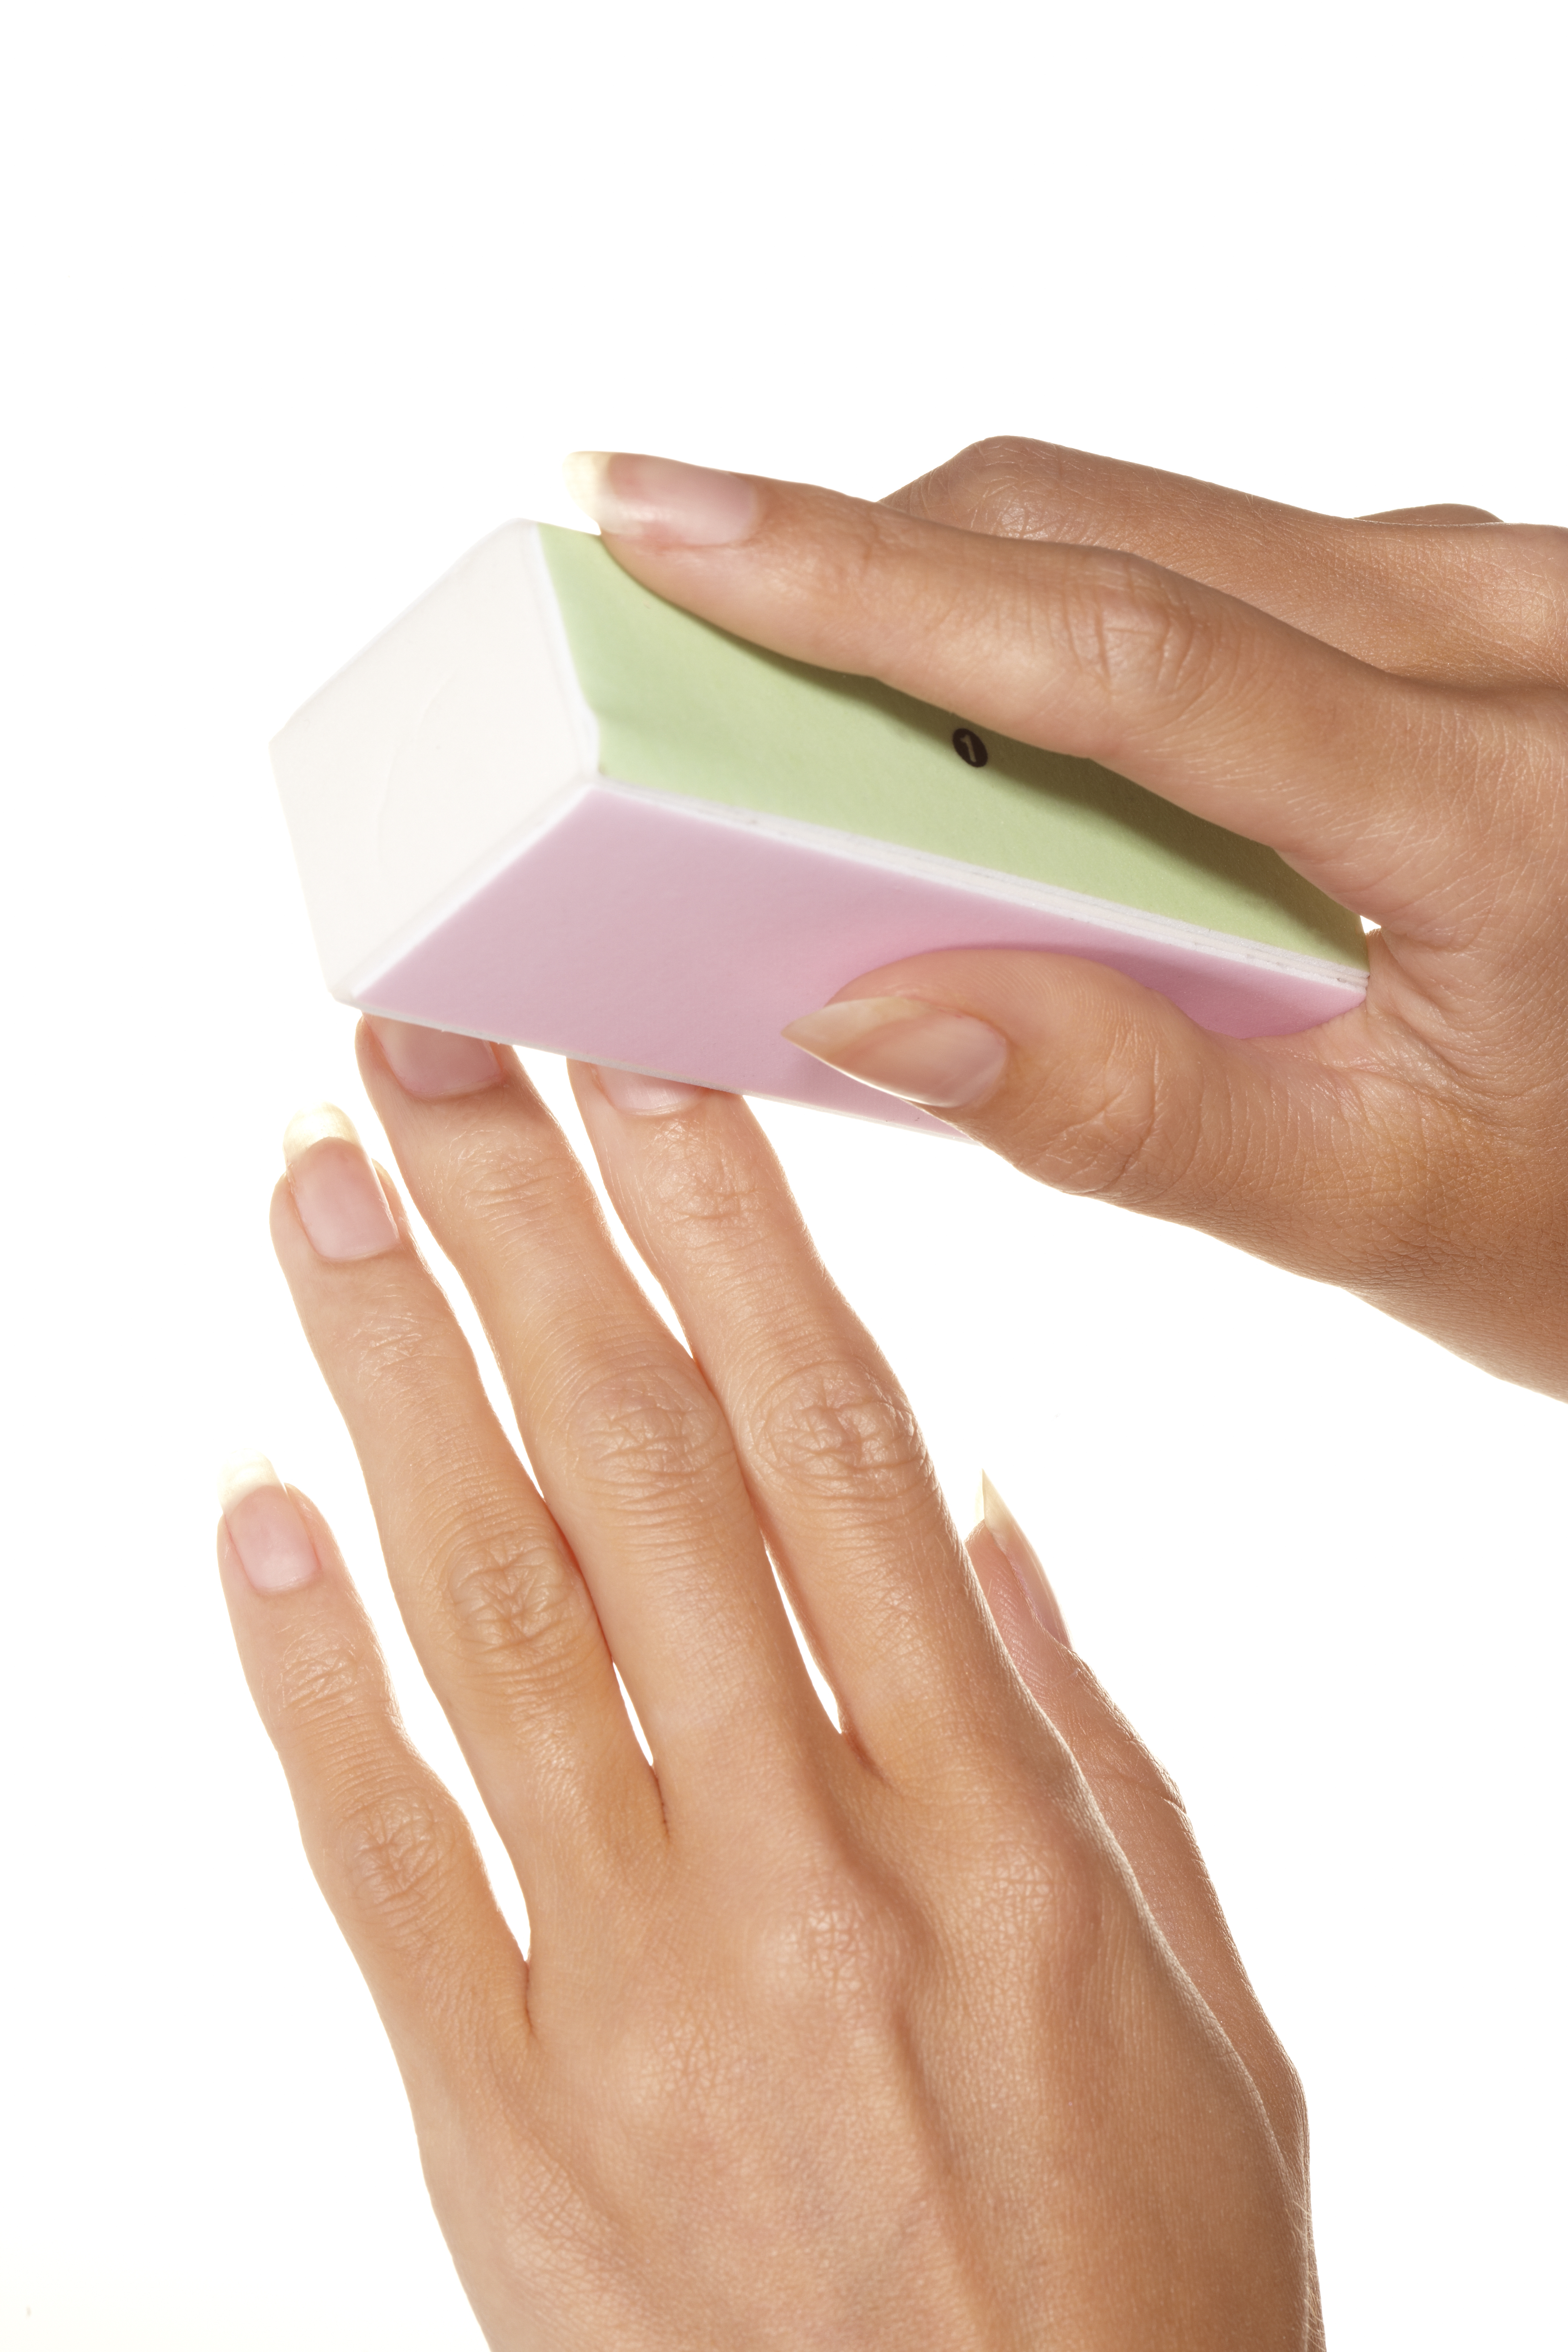
While the filing and acetone bath steps will leave your nails in a less than gorgeous state, don’t fret! Remove any remaining softened acrylic nail bits with a nail buffer, then use an orangewood stick to whisk it away.
If sections of the acrylic won’t budge, then return to the soaking step and try this step again.
5. Hydrate hands and nails

Acetone is a double-edged sword because it’s an excellent polish and acrylic remover, but it can also be harmful to your real nail beds. And while there’s no gentler alternative to use for removing acrylic nails, there are some after-care practices that can help reverse the damaging and drying effects of acetone.
First, immediately after removing acrylics, gently wash hands with warm water with soap. This will ensure you’ve removed all the acetone off of skin and nails so it won’t further dry out skin or nails.
Next, apply a cuticle oil, like Gelish Nourish Cuticle Oil (Buy from Amazon, $7.99), and a hand cream, like Curel Extreme Dry Hand Hand Relief (Buy from Target, $4.49) to hydrate skin. In the case of acrylic nail removal, the more hydration, the better! And to up the hydrating benefits, try the nail salon method of wrapping hand in warm, damp towels for two minutes after applying cuticle oil or hand cream, which allows nourishing ingredients to penetrate more deeply into nails and skin.
Bonus: To keep nails healthy post-removal, apply a strengthening treatment, like OPI Nail Envy Strengthener (Buy from Ulta, $19.99), once a day.
To see the removal process in video form, check out the below tutorial from the Kiara Sky Nails YouTube channel.
So there you have it — the 411 on how to remove acrylic nails at home. Following these steps will ensure you’ve preserved your nail beds and kept skin healthy, too. Now, you can let your nails breathe or paint on a pretty polish or nail art of your choice!
For more on nail care and nail designs, click through these stories:
14 Natural, Classy Short Acrylic Nails That Prove You Don’t Have To Have Long Nails To Make a Gorgeous Statement
Celebrity Manicurist: Why Jelly Nails Are Perfect For Women Over 50 — and How to Get the Look At Home
New to Gel Nails? Here’s Everything You Need To Know About This Must-Have Manicure