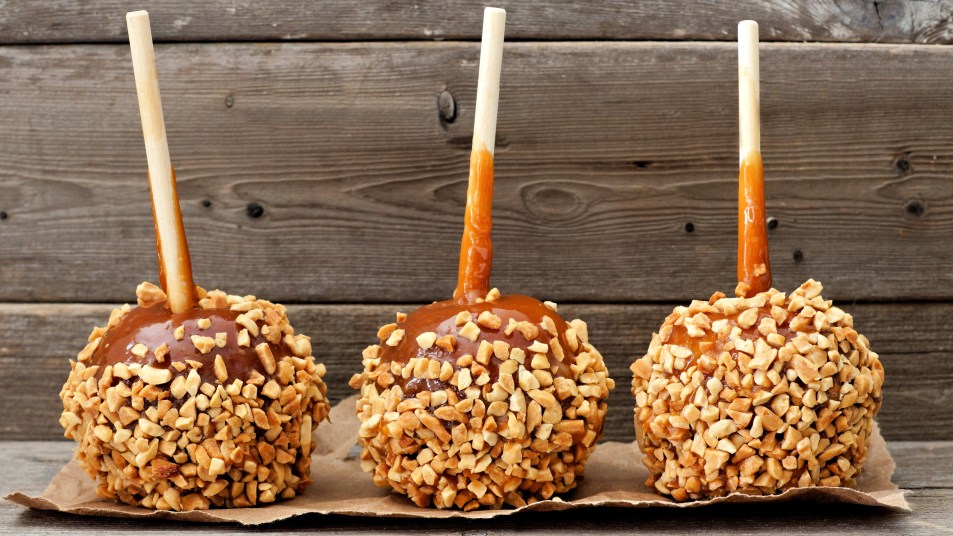
These 3-Ingredient Caramel Apples Are the Perfect Fall Treat
The easiest recipe for the tastiest seasonal snack.
The fall season is a time for comfort foods. Whether you like to get in the kitchen and bake your favorite pie or sip on a warm mug of hot coco or pumpkin spiced coffee, this time of year brings some of the most anticipated treats — enter caramel apples.
Caramel apples are one of those nostalgic snacks many of us know and love. I remember being a kid and noshing on them at school when we’d gather to celebrate Thanksgiving. For old times sake, I went searching for a caramel apple recipe to make at home, and as it turns out, they’re super easy to create on your own!

The best part about making your own caramel apples is that you only really need three ingredients — apples, caramels, and milk — plus any fun toppings you’d like to add on. The second time I made these apples, I chopped up some Snickers bars and dipped them in — and the combination was divine. You can get really creative with this recipe, and have a ton of fun by yourself or with the grandkids!
Before you make your apples, make sure you have some popsicle sticks on hand, too. Using popsicle sticks will ensure that you don’t make a huge mess with all that ooey gooey melted caramel. Now if you’re ready to enjoy autumn on a stick, check out the recipe below.
How to Make Caramel Apples at Home
Ingredients
- 4-6 apples (we recommend using small Gala apples)
- 1 package of individually wrapped caramels (soft caramels, not the hard candies!)
- 2 tablespoons whole milk
- chopped nuts, chocolate pieces, or other toppings (optional)
Instructions
- Wash your apples thoroughly, dry them with a paper towel, and remove the stems from the top.
- Line a baking sheet with parchment paper and lightly grease the paper with non-stick cooking spray. If you’re using additional toppings, place them in a wide bowl and set aside.
- Stick a popsicle stick into the top of each apple.
- In a non-stick saucepan over medium-low heat, melt the caramels and add the milk. Stir until the mixture is smooth and creamy.
- Once the caramel is fully melted, remove it from the heat — now it’s time to dip the apples!
- To coat your apples, angle your pot slightly and taking hold of the popsicle stick, dip and turn the apples in the caramel, coating completely. If the caramel is running right off of the apples, let it cool for a minute or two and then try dipping again!
- Dip the tips of your coated apples in any other toppings you’re using.
- Place your coated apple onto the parchment paper, stick-side-up, to dry. Place them in the fridge for at least 15 minutes to set before serving.
That’s it! If you’re serving your apples right away, make sure you allow them to set in the fridge before indulging. Otherwise, you can store your apples in the fridge and enjoy them for up to a week. Just be sure that you remove them and let stand at room temperature for a few minutes so that the caramel can soften before you dig in.
I hope you enjoy this nostalgic autumn treat as much as I did!