Making Your Own Delicious Yogurt at Home is Way Easier Than You Think
All you need are two ingredients!

Many of us have taken up some creative cooking endeavors while in quarantine. If you’re in the homemade bread-baking crew or you’ve learned how to make yourself a classic Greek frappe, maybe you’re ready to try your hand at making your own yogurt!
Making your own yogurt at home is actually really easy, and some even argue that it’s healthier than eating store-bought yogurt since it’s freshly fermented! The probiotic bacteria in freshly made yogurt is said to be more active. From personal experience, I can tell you this recipe has helped my digestion significantly compared to regular, store-bought varieties. Not to mention, probiotic foods are said to help boost your immunity, skin health, and more!
To make your own, all you need is two ingredients: milk and regular store-bought yogurt, which is used for fermentation. This process is super easy, too. Once the milk is boiled and yogurt is added, all you have to do is let it sit for a few hours, and voilá!
To make your own yogurt at home, follow the instructions below.
Ingredients
- 1/2 gallon of milk (use whole milk for a creamier texture, low-fat milk for thinner texture)
- 1/2 cup plain, unsweetened yogurt (pick one that has “live active cultures” on the label. Greek yogurt works well.)
Instructions
- In a 3 quart (at least) steel saucepan or dutch oven, heat your milk over medium-high heat to just below the boiling point. You can use a candy thermometer to measure it at 200 degrees Fahrenheit if you want, but you can also just eyeball it.
- Allow the milk to cool enough so that it’s luke warm or warm to the touch, about 115°F, stirring occasionally with a spoon to prevent a film from forming. (If it does, you can simply remove it).
- In a bowl, combine the yogurt with one cup of your warmed milk and whisk until smooth.
- Start gently whisking your pot of warm milk, then slowly pour the milk and yogurt mixture into the milk. Whisk the whole thing until smooth.
- Cover your pot and wrap it with kitchen towels. This will keep the temperature of the milk warm so that it’s able to ferment.
- Place the pot wrapped in towels in your oven for the duration of fermentation. How long you allow it to ferment will depend on your taste preferences. If you prefer a milder taste, you may only want your yogurt to ferment for about 4 hours, but for a more tart taste and creamier texture, you can leave it as long as overnight (no more than 10 hours),
- Avoid stirring your yogurt during fermentation. If it’s your first time making yogurt, check the taste and consistency at 4 hours and decide whether you want to leave it to sit for longer.
- Once it’s done fermenting, you may notice some water floating at the top. You can either strain it off the top or whisk it back in.
- Spoon the yogurt into a storage container, place it in the fridge, and allow it to cool before enjoying.
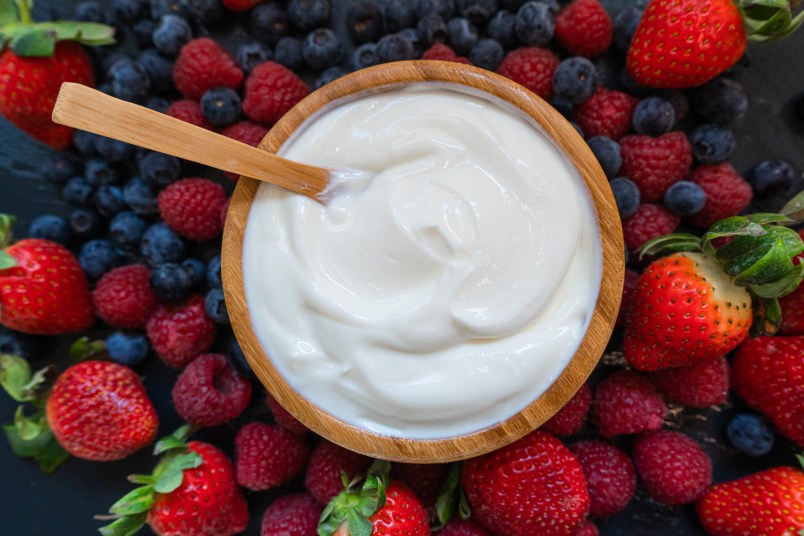
You can store your homemade yogurt in the fridge for up to two weeks. Of course, if it starts smelling funky before this, throw it out and make a new batch. You can also sweeten it when it’s time to enjoy. Personally, I like to add a little honey and top it with berries as a delicious, gut-boosting snack.
We hope this simple recipe is yet another thing you can add to your quarantine skill set! (Bonus: Check out our story on labeh for another gut-friendly dairy option!)


