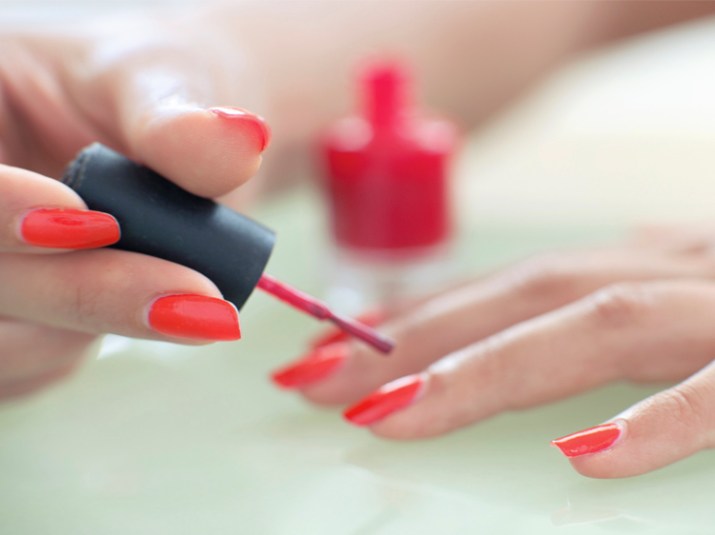
5 Ways to Save Money on DIY Manicures at Home

Who doesn’t love DIY manicures? Painting your own nails is a simple way to pamper yourself with a spa-worthy treatment. And since most of us are stuck indoors lately, it’s a true win-win. It’s also worth mentioning that these at-home manis don’t often come with the hefty price tag of a professional nail art manicure or elaborate acrylic treatment. But as lots of women know, even DIY manicures can get a bit pricey if you’re not careful.
Here are a few common reasons: The prices on those (many) nail polish bottles in your kit add up quickly, barely-used polishes end up in the trash once they get clumpy, and your favorite colors are gone before you know it because your nails keep chipping. If any of that sounds familiar, check out the savvy tips below and see how much money you can save on your favorite DIY spa routine.
1. Don’t be so quick to banish clumpy polish.
We’re so conditioned to toss our nail polish in the trash as soon as it develops clumps, but there’s an easy way to save it. Try this nail polish remover hack: Put a few drops of nail polish remover in your old nail polish and watch it thin out before your eyes.
2. Speaking of nail polish remover, choose it wisely.
Unless you like wearing the same nail color all the time, chances are you’ll be using quite a bit of nail polish remover between manicures, especially when shifting from a darker shade to a lighter shade. Try a nail polish remover dip (sometimes called a “twist and scrub”) to simplify and speed up the polish-removing process, with minimal risk of any excess remover spilling out. One popular option: Sally Hansen Kwik Off Nail Color Remover (from $2.50, Amazon).
3. When actually applying your polish, use thin coats.
It’s tempting to get a couple of extra-lush layers on your nails, especially if you can still see your natural nail hue peeking out from underneath your first layer. But the reality is that thicker layers are at a greater risk of chipping or clumping, which means you may need to reapply much sooner than expected. Who has time for that?
4. Remember to use your topcoat.
You might think topcoat is for professional nail techs only, but topcoat — such as Essie Gel Couture Platinum Grade finish Top Coat ($8.69, Amazon) — can also help DIY manicures last longer. Psst: You also have the option of applying it again a few days later if you want to see even longer-lasting potential for your results!
5. Consider investing in a DIY manicure kit with the basic tools you need.
While you might cringe at the idea of buying more items for your nails, the reality is that an excellent manicure tool kit might help your manicures last longer — thus saving you more money in the long run. For instance, quality nail files may help fragile nails avoid further damage, and a great buffer can help smooth out the surface of the nails. Talk about being the perfect canvas for your future nail art!
We write about products we think our readers will like. If you buy them, we get a small share of the revenue from the supplier.


