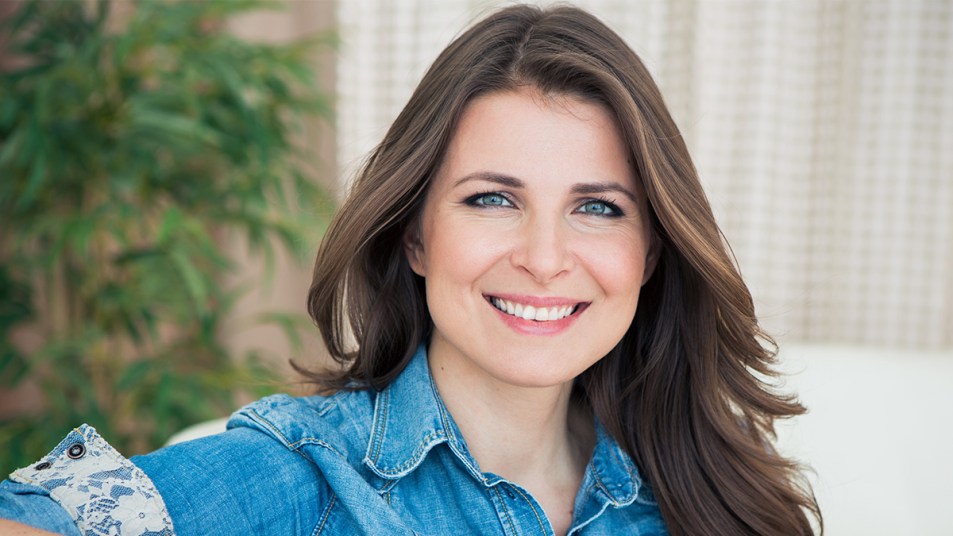
Gray Blending Works Wonders for Women Over 50 to Conceal Grays Without the Need for Touchups
Plus, hair transformation videos that showcase the results
Going gray doesn’t mean you’re old, and it doesn’t mean you don’t have options for your hair color either. At least not these days! That’s because plenty of celebrities and real women alike are embracing their silver strands — from sporting stray grays to rocking a full head of them. And hair stylists have found new ways of keeping every kind of gray hair looking fierce and fresh. The latest technique for working with your grays and still looking youthful? Gray blending. This technique involves blending your grays into your base color, but there’s a little more to it. Here, learn all about this dyeing trick, what benefits it offers and the pro tricks for achieving the results yourself.
What is gray blending?
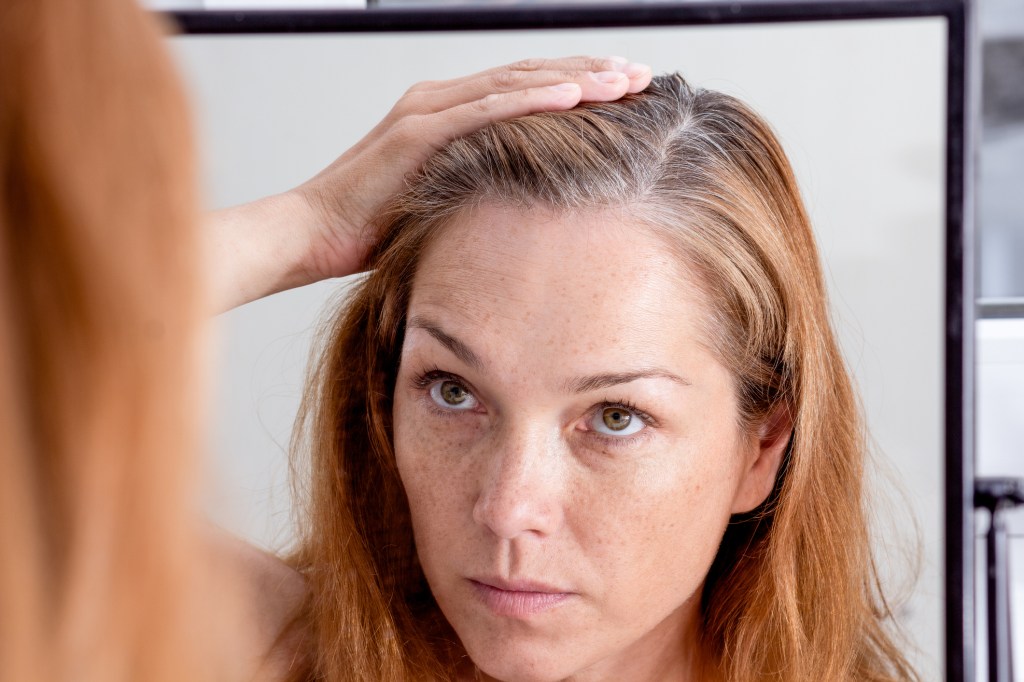
Think of gray blending as a low-key — and potentially lower-maintenance — strategy of disguising your silver or white strands. “Gray blending is a technique where you add hair dye to a percentage of the hair, leaving some of the gray to help soften the line of demarcation that appears when the hair grows in over the next 4 to 6 weeks,” says Jay Small, a certified trichologist, hairstylist and co-founder of Arey. “Often, with full coverage, this line can be harsh. But when you leave a couple grays, it can help to blend them and make the hair dye appear more natural.”
While stylists see gray blending as a more “natural” way for going gray gracefully, it can be done on your natural hair tone or dyed hair. The goal is to purposely omit some of your coverage for what Small calls a “lived-in” look.
Watch the below video from TikToker @raw.hair for another explanation on gray blending.
@raw.hair What is gray blending? This is gray blending explanation in a nutshell😊#fyp #foryoupage #hairtok #grayblending #haircolor #colorist #hairstylistsoftiktok #psa #hair #FastTwitchContest #greenscreen
♬ Blue Blood – Heinz Kiessling
The benefits of gray blending
1. It’s natural-looking
An allover permanent dye job to cover grays creates a harsh line of growth. And this means you’ll have to cover it again and again with frequent touch-ups. With gray blending, you’re still taking care of some of the grays but preserving some of the hair’s dimension. And it’ll be that much easier to lean into a full gray transition one day, if that’s something you’re looking to do.
2. It can help hair stay healthy
Turns out this technique can be a little gentler on your tresses, thanks to the way the color is typically applied. “Limiting on-scalp color application, usually gray blending is done with foils or free hand,” says Small. “When you apply color to fully cover gray hair, the dye is typically put on the scalp, and this can expose the scalp to the hair dye and cause oxidative stress.” Essentially, the less your scalp is exposed to dye, the better, since oxidative stress can hinder normal hair growth.
3. It saves you time and money
“Another benefit is extending time in between color services,” says Small. “Hair grows, on average, a half inch per month, and for those covering gray, this can mean roots will be visible 3 to 5 weeks after a color application.” Because gray blending lets you keep some of your grays, the regrowth lines will be softer, which Small says can add weeks to your typical coloring schedule.
How to do gray blending
Gray blending can be done in a few different ways. What technique you choose depends on how much gray you have in your hair in the first place, where it’s located, how much coverage you’re looking for and what your base color is. Darker hair is often simpler to address with a single shade of dye that’s close to your base, but gray blending lighter shades can often benefit from a mix of highlights and lowlights. Here, a few different strategies for gray blending depending on where you want to conceal grays.
If you have stray grays
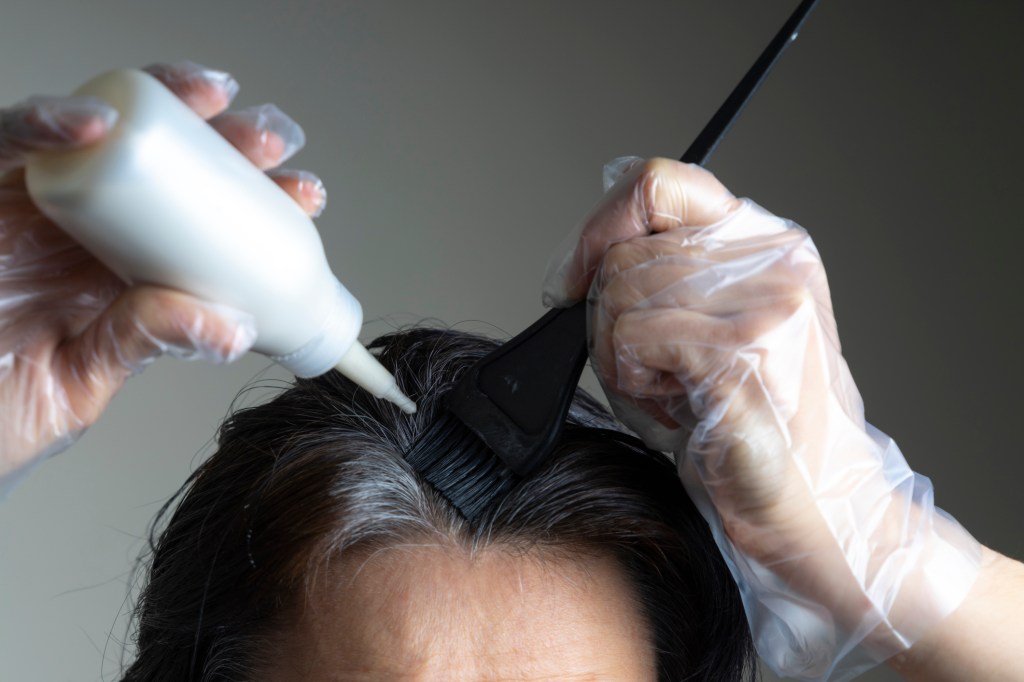
If you have just a few silver strands peeking out from your base color, a gloss or demi-permanent dye is the way to go. “For stray grays, I would use a free-hand approach and a demi-permanent dye — this is indicated by the level of developer, which for demi is 10 volume,” says Small. “This is a good choice for sporadic gray because it will not likely change the hairs that are not gray, and it will allow the color to fade naturally during the weeks after the color application.”
Guy Tang, celebrity colorist and founder of #myidentity, says to choose a shade that’s close to your natural base hair color. While demi-permanent dyes can come as liquid- or cream-based products, Small prefers cream formulas. “This will allow for more precise application, as liquid products can easily spread onto hairs you don’t wish to dye,” he says.
To paint your hair, Tang suggests using a brush for precision. And how you hold the brush and apply the color is key. “When working free hand, you will want the color application brush to be parallel with the strands, working from roots down the hair strand,” says Small. “After you have completed the application, I would use a comb to help distribute the color and blend in with the rest of the strand or strands,” he adds. Let the dye process according to the box instructions and thoroughly rinse hair.
To see this technique in action, watch the below from from @vanessahairhtx on TikTok.
@vanessahairhtx my version gray blending. 14 week growout shown at the start of the video. will be ready for a refresh in 3-4 months 🤍 #grayblending #rootretouch #holidayhair #babylightsonbrunette #darkhairinspo #livedincolor #subtlecolor #softhighlights
♬ original sound – Feelingblew
If you have all-over gray root growth
Grays coming in all along your roots? You’ll likely have to go a little stronger with the developer, and then carefully apply color to the roots, blending outward. “When you are experiencing a higher percentage of gray, I would suggest using a developer that can penetrate the gray but not over-doing it,” says Small. “Often we are told as hairstylists to use 20 volume developer for gray coverage, but in my salon, I would use somewhere between 10 and 20 volume developer, depending upon the client’s gray percentage, texture and hair density.” Tang suggests starting at the back as you section your hair for even application, remembering to not paint every last gray for that natural look.
And if you notice your color is fading too soon after application? Small says that can be avoided by formulating the color one half to a full shade darker. “This will allow for more dye molecules and give better, longer lasting coverage,” he says. “You may also need to increase the volume of developer — but only a little. I find with color, small tweaks observed over time will get you to the best formulation for your desired hair color.”
For a before and after gray blending transformation, watch the below video from TikToker @emchenhair.
@emchenhair My client was sick of seeing a hard demarcation line every 3-4 weeks. She wanted something that would work WITH her greys, but also expressed that she wasn’t ready to GO grey, so we did something in between. I absolutely LOVE using deposit-only demi’s for grey blending. The translucency embraces & works with the natural grey pattern, and I love how we get ZERO lift, which = NO exposed underlying warmth, which = a much softer & blended grow-out for my clients! Here’s the formula breakdown: 1️⃣ “pre-blend” Goldwell colorance 30ml 7N, 5ml 7G, 35ml 2% colorance lotion (REGULAR colorance, not cover plus) – I don’t always do this step for grey camouflage, but if my client has areas of heavy grey, this will soften/mute them down a bit. 2️⃣ we did back-to-back weaves around the hairline (6 foils deep) to blend out the dark demarcation line & also to give the greys something to blend into. I didn’t show this in the video bc I wanted to focus on just the grey blending portion, but for those who want to know – the rest of the head was foiled in my high impact blending method for lived in blondes (see class details at the bottom!) 3️⃣ Shampoo & @k18hair 🙌 4️⃣ Gloss. On towel dried hair, we toned with SEQ straight 8VG & rootsmudged with colorance (again, regular colorance, blue can, 2%) in 1/3 6A, 2/3 6N. I know what some of you are thinking: like why in tarnation would I apply a rootsmudge if she wants to blend her grey? Most of my rootsmudges, including this one, are formulated to be extra translucent (1-3 levels lighter than the natural base, level 6 & up, demi applied onto damp hair). All this rootsmudge did was create a more cohesive & elevated look, but was translucent enough to not recreate the hard demarcation line my client used to get with permanent color. Who else loves using demis for grey blending? __________________________________ Just over 8 weeks until mine & @shann.hair’s LAST Get Melty class this year! ⚡️ 𝗡𝗼𝘃𝗲𝗺𝗯𝗲𝗿 𝟭𝟯𝘁𝗵 – 𝗥𝗢𝗦𝗪𝗘𝗟𝗟, 𝗚𝗔 @fancy.hairdressers Tickets Available via link in bio🎟️
♬ original sound – Emily Chen
If you have grays at the temples
Tang suggests sticking to thinner sections at the temples, blending outward with your brush for a softer look. Small agrees but suggests going a little lighter in this spot for a seamless look. “For gray in the temples, I would take a free hand approach, similar to how we discussed addressing sporadic grays with a demi-permanent dye and creme base,” says Small. “The hairs around the front hairline tend to be shorter, finer and lighter. When formulating hair dye for this area, I would start one half to a full shade lighter than the dye you would use throughout the rest of the head. Sometimes the front hairline can absorb more color and appear darker than the rest of the head.”
Subtle highlighting can also help camouflage grays as shown in the below video from TikToker @melaniehasson.
@melaniemhasson Grey blending! I love this placement around the ear it gives such a gorgeous finish. #hairtok #hairstylisttiktok #livedincolorspecialist #luxuryhairstylist #balayage #balayagespecialist #hairstylistsoftiktok #grayblending #greyblending
♬ original sound – Melanie | Hairstylist
If you have grays at the part
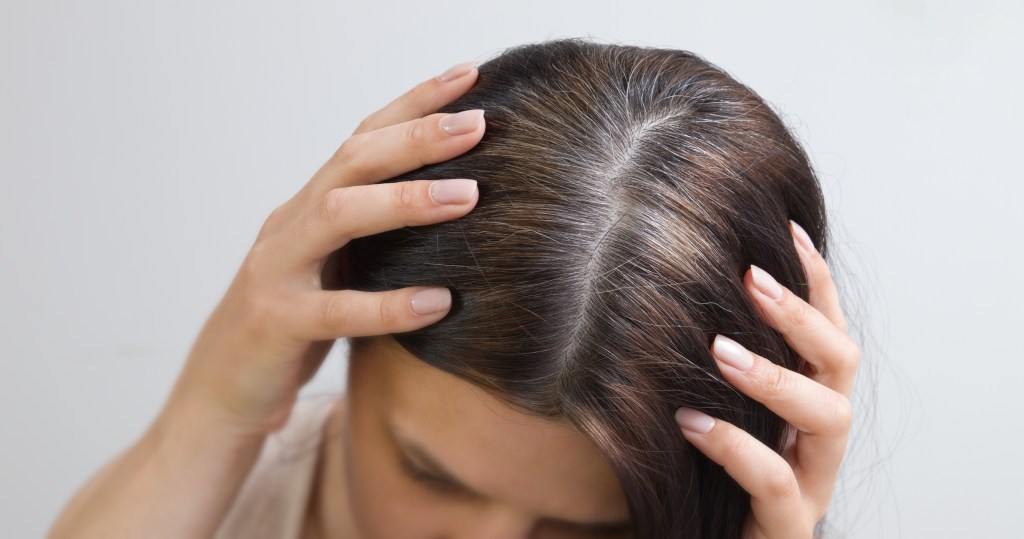
When it comes to grays at the part, take a closer look at exactly how much pigmentation loss you have before you decide on your dye developer. “Depending on the percentage of gray, I would use lower developer for those with less gray/white and increase the volume of developer for those with more gray/white hair,” says Small. “When dealing with the part, it is important to not alter the hair around the grays, as those are hairs that still have pigment. If you formulate too dark or use too high a volume of developer, this can make it obvious that you have colored your hair. Plus, the grow-out process becomes more obvious too. For this reason, Small likes to use foils with very fine sections. “This will allow for the softest, most natural blending and a more precise application.”
To see a transformation using this technique, check out the below video from @amberjensenhairstylist on TikTok.
@amberjensenhairstylist Gray blending with a demi permanent color 😚 #matrixcolor #hair #hairtiktok #hairstyle #hairstylist #hairstylistsoftiktok #hairtransformation
♬ CRAFT – OFEKNIV

Gray blending best practices
“When trying to blend color, I always recommend combing the product several times after application, and processing is almost complete,” says Small. “For example, after you apply color to the whole head, go back and section the hair and comb the product from the roots to the mid shaft of the hair. This will spread the dye and help it blend most naturally with the rest of the strand.”
With foils, the technique is a little different. “If you have applied the product in foils, about 5 to 10 minutes before rinsing, remove the foils one by one,” says Small. “With each foil you remove, comb the hair to spread the product throughout the strand.”
The best products to use for gray blending
The pros recommend these picks for gray blending and keeping your color looking fresh.
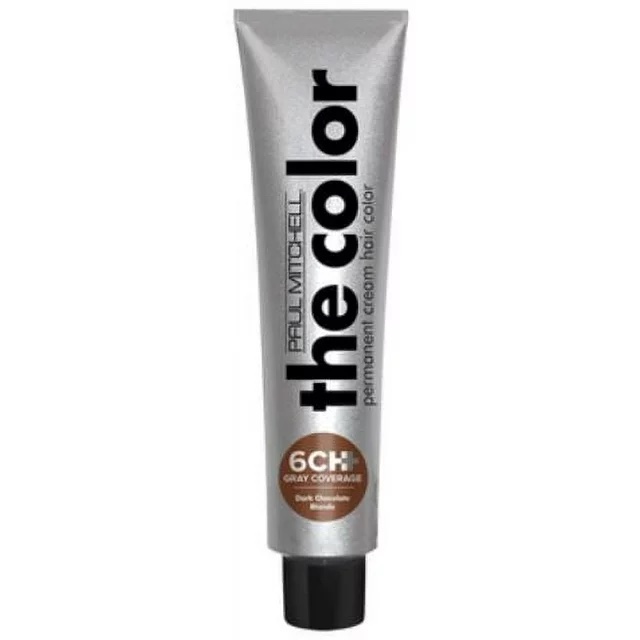
Paul Mitchell The Color Gray+ Coverage Permanent Cream Hair Color
Liquid dye formulas can be runny, which make gray blending tricky as you’re not trying to color every last gray. For that reason, Small prefers a cream formula, and his recommendation is this line from Paul Mitchell. “I love the shade selection, and the creme base gives excellent coverage and great control.”
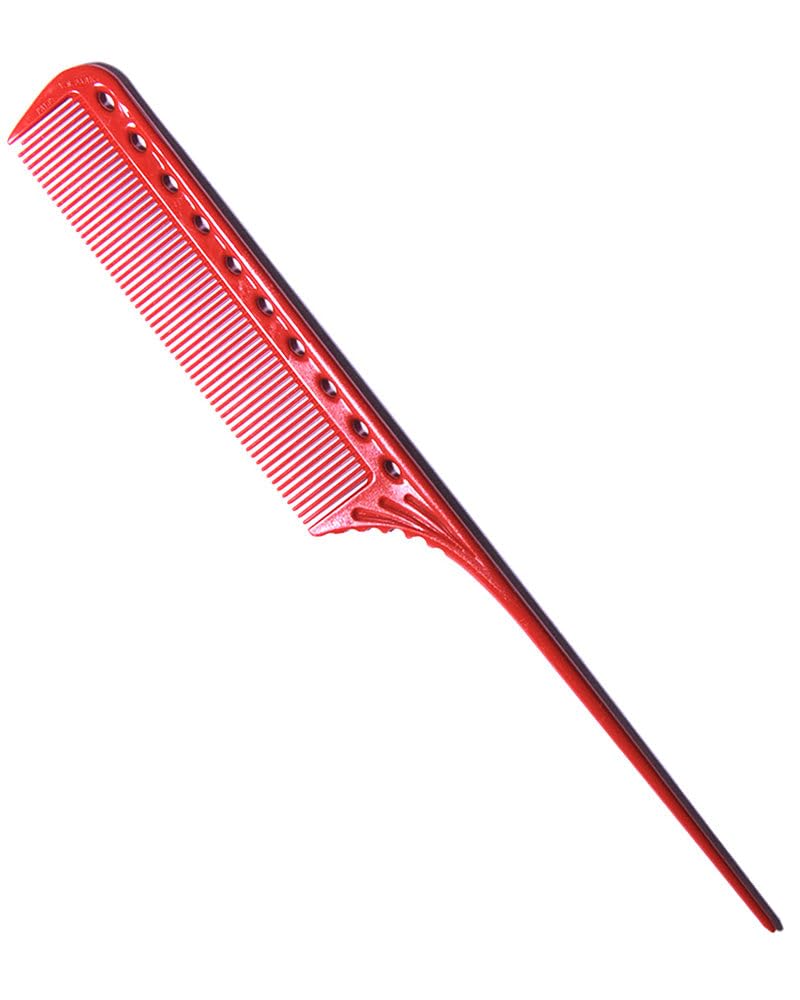
Tail combs are often used by stylists for teasing and backcombing. Small likes them for coloring too, and recommends this one from Y.S. Park. The pointed tip helps to create clean sections that make it a cinch to apply color onto.
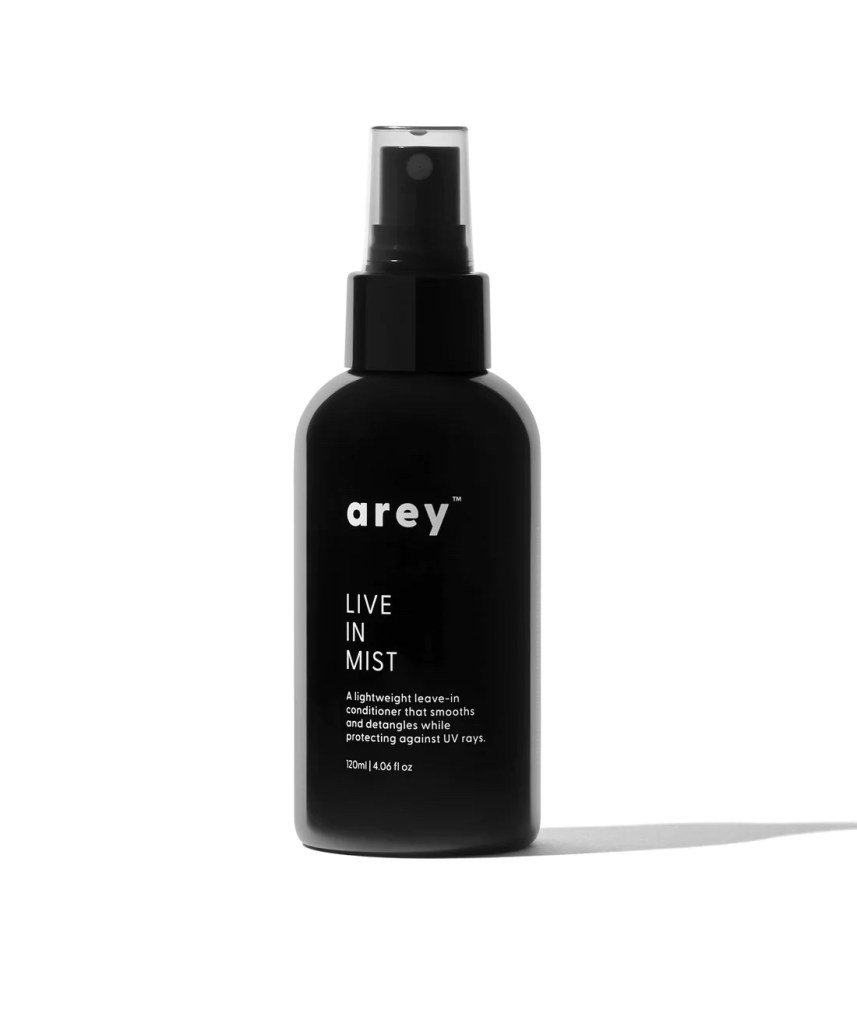
“Dyed hair is susceptible to fading due to sun exposure, and I recommend all my clients use a product like Live In Mist daily,” says Small. “We often associate sun exposure with summer, but UV rays are present 365 days of the year. So it’s important to use a UV protectant all year round.” This one gets its sun-blocking power from its raspberry seed oil and it can also be used as a detangler right out of the shower. Plus, the spray works well in-between hair washes as a refresher to restyle strands.
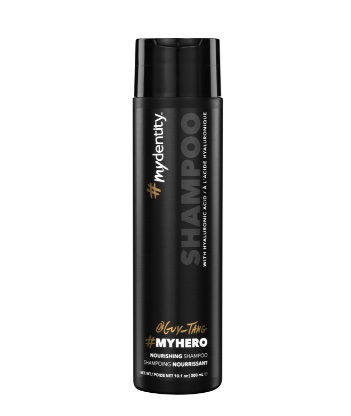
#Mydentity #MyHero Nourishing Shampoo and Conditioner
To keep your color looking its best longer, you’ll want to be mindful of the products you’re using. And particularly when it comes to shampoos and conditioners. “It’s important to use color-safe shampoos and conditioners, such as MyHero Nourishing Shampoo and Conditioner, that prolongs color tone and vibrancy up to 50 shampoos,” says Tang of his formulation.

For more hair styling inspiration, click through these stories:
TikTok Loves This Cherry Cola Hair Trend — Celeb Stylists Reveal Why You’ll Want to Try It
Hair Color Wax Is the Trendy Way to Get Bold Color Without Actual Dye — How to Use It
Why Side Swept Bangs Are the Hot New Trend for Women Over 50


