How to Remove Dip Powder Nails at Home Without Damaging Your Natural Nails
All it takes is 5 simple steps!
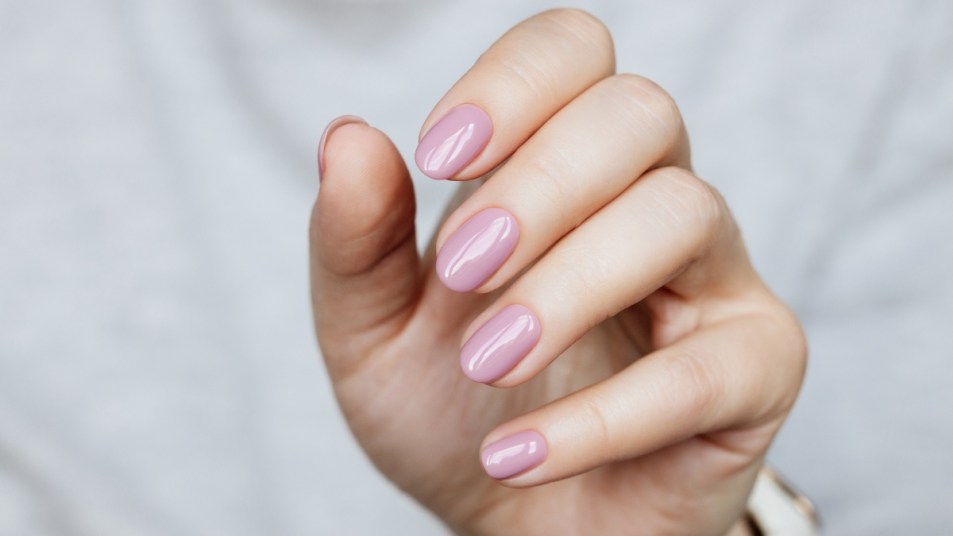
Having our nails done is such a confidence booster as we’re left feeling put-together and polished (literally!). And thankfully with so many long-lasting manicure options available today from acrylic nails and gel nails to shellac nails and now more-popular-than-ever dip powder nails, our nails stay looking great for weeks on end. But there does come a time when we need to remove a manicure and we don’t always have the time or money to take a trip to the salon to do it. So that’s why we turned to celebrity nail artist Sigourney Nuñez for her tips on how to remove dip powder nails. Keep scrolling to learn more.
What are dip powder nails?
Dip powder nails are similar to acrylic, gel and shellac nails in that they provide extra protection to your natural nails and last longer than a manicure done with regular nail polish. But the technique differs from these other manicures in the way that it’s applied to nails.
For a dip powder manicure, a nail technician will apply a resin primer to nails before dipping each nail into a finely milled acrylic powder in a color of your choice. This dipping action is where the name of this manicure comes from, says Nuñez. The technician will dust off the excess powder, then apply another coat of primer and dip nails in the powder — typically 2-3 coats of the powder are added to nails. Next, the powder is set with a clear protective top coat. And unlike gel or shellac nails, this doesn’t need to be cured with a UV or LED light.
To see for yourself how dip powder nails are done, watch the below video from @KiaraSkyNails on YouTube.
Related: How to Do Dip Nails at Home for Pennies — Manicurists Share Their Easy Tricks
How to remove dip powder nails: 5 easy steps
While it might be tempting to pick at or peel off dip powder nails, Nuñez says to refrain from doing so. “This can lead to the removal of layers of your natural nails, causing thinning and weakening.” Instead, “the best way to remove dip nails at home is to practice a lot of patience and use the soak-off method,” says Nuñez. “Keep in mind that a dip manicure is made of a few layers of nail resin and acrylic powder, so the remover needs to break down those layers before it can completely be removed.”
Removing dip powder nails is very similar to how to remove gel nails at home and how to remove acrylic nails. Read on for the simple steps from Nuñez.
1. Gather the tools you’ll need
The first thing to do is gather the necessary tools needed to remove dip powder nails. Nuñez says you’ll need the following:
- Nail file
- Nail buffer
- Acetone
- Cotton balls or pads
- Aluminum foil
- Cuticle pusher
- Cuticle oil
- Hand cream
2. File, file, file
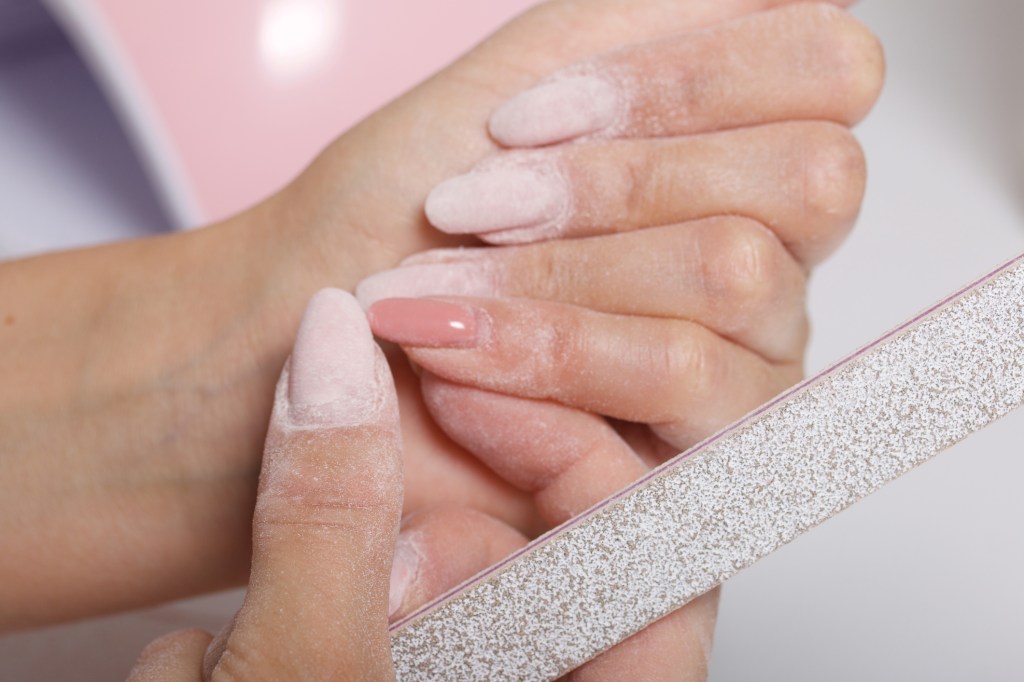
Use a nail file to remove the top layer of your dip manicure. “This helps break the seal and allows the acetone to penetrate the layers,” explains Nuñez. And it also reduces the time it takes to fully remove dip powder and avoids harming nails from overexposure to acetone.
3. Soak your nails
Cut aluminum foil into squares large enough to cover your entire nail bed. Then, soak cotton balls or pads in acetone, and place onto nails. Wrap the acetone-soaked cotton balls or pads with an aluminum foil square around each nail, making sure it’s secure and tight enough to stay on. Leave on to soak for 20 minutes.
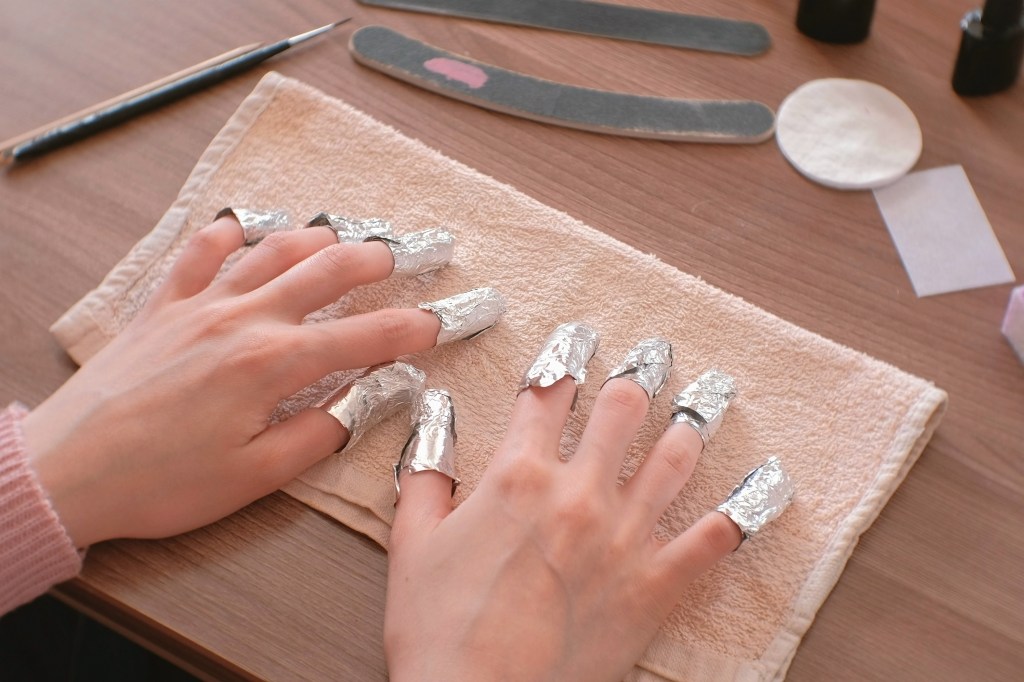
Once the 20 minutes is up, don’t immediately take off all the foils. “Gently check one nail to see if the dip powder has softened. If it has, you can move to the next step. If not, rewrap the nail and wait a few more minutes,” notes Nuñez.
Don’t have any foil or cotton balls on hand? Simply take a shallow bowl and fill with enough acetone so nails can be submerged into it. Follow the same process as above, letting nails soak for 20-30 minutes.
4. Scrape gently
Once the powder has been loosened with the acetone, use a cuticle pusher in “a gentle twisting motion to remove the softened dip powder,” says Nuñez. “Avoid forcing or scraping to prevent damage to the natural nail.” Note: If it’s still difficult to scrape off the powder, then it’s best to soak nails in the acetone longer.
The key here is to be patient. It might take a while, but don’t rush it — yanking or ripping the final layer off your nails can cause damage to nail beds (and be very painful). Once the powder is scraped off, use a nail buffer to get off any remaining residue, then wash hands.
5. Give nails some TLC
Once the dip powder is fully removed, treat your nails and the surrounding cuticles to some pampering. Removing any sort of manicure can be damaging to your natural nails and the nail beds below them, so practicing good aftercare is crucial no matter your manicure type.
First, Nuñez. advises trimming and filing your nails to their desired shape. Then apply a cuticle oil, like essie Apricot Cuticle Oil (Buy from Amazon, $14.99). This will help hydrate and heal the area around your nail beds since the delicate skin can become irritated from the dip powder removal process. Next, seal in the oil and rehydrate hands by applying a moisturizing hand cream, like Gold Bond Healing Hand Cream (Buy from Amazon, $3.97).
Bonus: Once a week apply a strengthening polish, like OPI Nail Envy Nail Strengthener (Buy from Amazon, $19.95), to your natural nails to keep them strong and healthy.
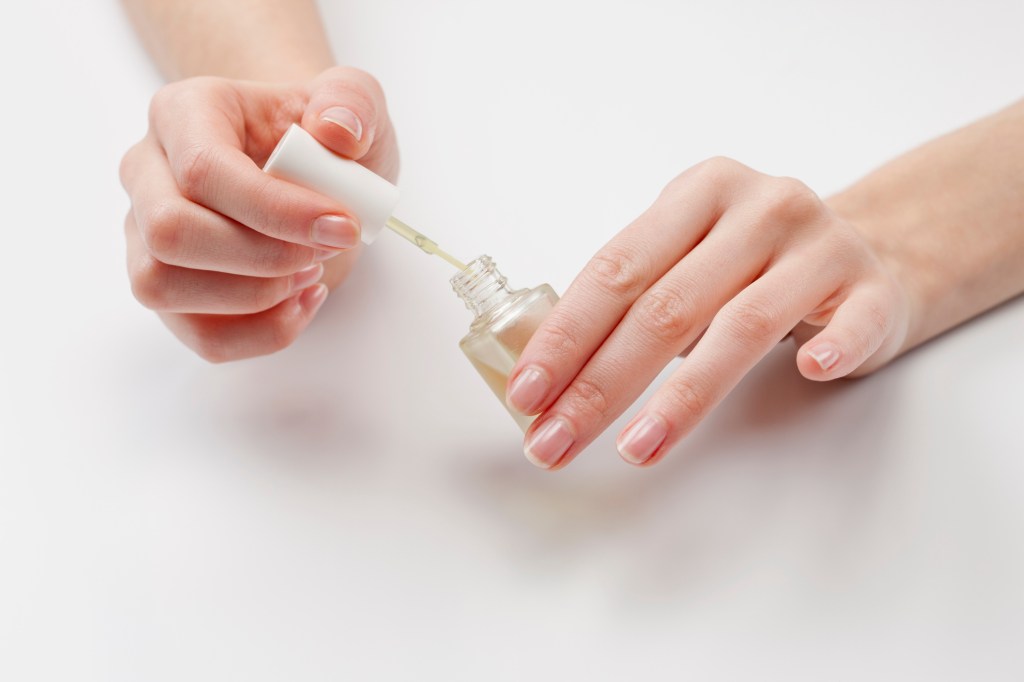
For some additional TLC, use a nail renewal treatment. We love Dr. Dana’s Nail Renewal System (Buy from Amazon, $30) since it was created by board-certified dermatologist and nail specialist Dr. Dana Stern. This kit comes with a glycolic prep, priming wand and deep hydrating formula that makes nails look and feel like new in-between manicures.
For more tips on how to remove dip powder nails, check out the below video from YouTuber Gabby Angelique.
For more on the latest nail trends, click through these stories:
Manicurists Reveal the Top Nail Shapes of 2023 That Are Sure to Flatter Your Fingertips
Ask for ‘Shellac Nails’ For the Most Natural Looking Artificial Nails On The Market
Gel Manicures: Nail Artists Weigh In On the #1 Approach To Long-Lasting Nail Beauty


