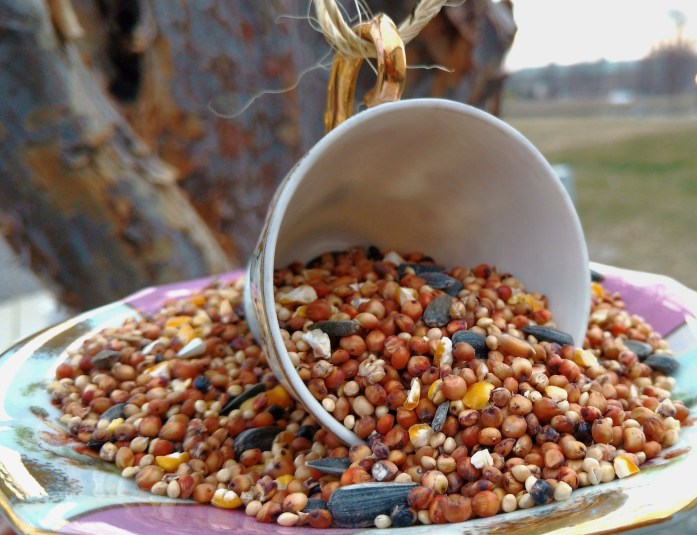
How to Make a Teacup Bird Feeder
Providing supplementary food can increase birds’ chances of surviving the winter, and there’s also evidence that they then go on to breed in larger numbers. And don’t knock the joy you get as a result – seeing wild birds respond to your kindness makes you feel good, too.
Once upon a time, the recommendation was to feed just in winter, but now it’s encouraged to feed the birds all year round.

For many wild birds, gardens have become the winter retreat of choice. While there may be dangers to face – cats, windows, cars, people – it is worth the risk, especially if there are tasty treats on offer.
Feeding the birds is a good way to attract them into your garden, and we’ve found an easy handmade feeder anyone can make. All it takes is a look around in your kitchen for an old teacup.
Supplies
- Teacup and saucer (whatever style you like – consider that the sturdier ones will last longer).
- Sandpaper or sanding block
- Strong glue (make sure it is one that is suitable for outdoor use, and for use with ceramics).
- Optional: Sturdy cane or pole. Chain or thick string.
Making your vintage teacup feeder.
After gathering your materials, sand the bottom of your cup and the inside of your saucer (where the teacup would normally rest). This will make them adhere better when you add the glue.
- Place glue on the bottom edge of the teacup and inside of the saucer. Using a cotton bud can help to get it into the right spots if the nozzle of your glue isn’t particularly fine.
- Set the cup on top of the saucer and hold it in place for a few seconds.
- Let sit for half an hour before use.
- Now you have options – you can either use the feeder as-is – positioning it on a ledge or shelf safe from other prying wildlife (like as cats) – or you can go a step further and attach a pole to pop it in a flower pot or bed, or add a chain to hang it.
- To attach a pole, again use sandpaper to rough both the top of the pole and the base of your teacup, then glue the two pieces together. Using a pole with a tapered end will make it easier to stick to the ground.
- If you want to add a chain or string to your teacup creation, you can either drill a couple of holes either side of the cup (be warned, go carefully – ceramic and porcelain can easily shatter, so don’t make your holes too near the edge, use a slow drill speed and very little pressure). You can also use glue to attach the string/chain. Just make sure it is firmly attached before you hang it – leave it for another 30 minutes to let the glue dry.
This article originally appeared on our sister site, Yours.