Those Random Garage Sale Finds Tucked Away in a Corner? Put Them To Use With These 4 DIY Ideas
From found to finished!
There’s no better feeling than finding a purpose for that random find that’s been sitting in your garage since last summer, waiting for its big moment. If you’ve got a love for DIY and repurposing but just lack a bit of inspiration, here are a few examples of some of our favorite ways to turn miscellaneous found items into something conversation-worthy.
1. Level Up Your Entryway

Between decorating and renovating her family’s 1931 schoolhouse, Becky Lamb of Beyond the Picket Fence blog can be found “hunting for junk that I can repurpose, build with or paint on.” That includes pieces that others might pass on. “I am not sure why, but I love old, wood levels that I find at thrift stores and garage sales,” she says. When they needed a place for front door guests to hang their coats and purses, she used the levels she had been collecting to make an entry shelf and coat hook, knowing the warm wood tones would cozy up the space.
How To Make It
Experiment with the wood levels by laying them out on the floor until you are happy with a design placement for them. Measure the complete layout of the levels and determine where you want to place it on the wall. Consider how low the coats and bags will be hanging on the hooks. Mark the placement in pencil. Attach the levels to the wall using screws, making sure to secure them to wall studs. “It is pretty easy to keep them level,” Lamb says with a laugh. Screw coat hooks into the levels as desired. Personalize your new entryway shelf for the season. Lamb has tucked vintage travel postcards and Christmas cards into the top and hung novelties like ice skates.
2. Rolling With This Wall Decor
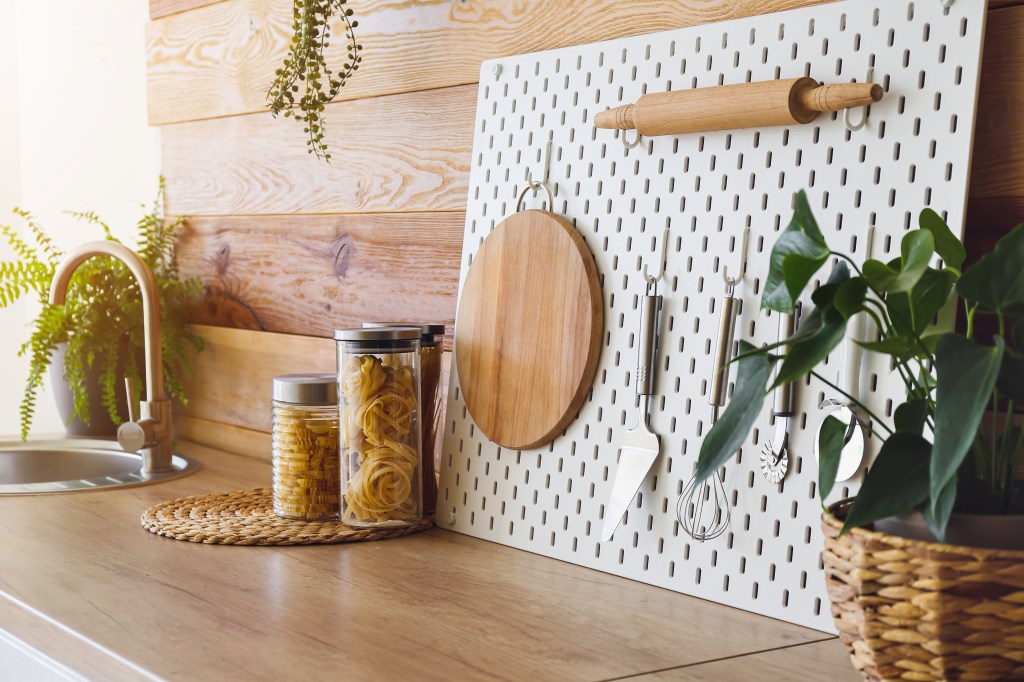
On her Organized Clutter blog, Carlene Blair shares a creative stream of crafty ideas for upcycling and repurposing thrift shop finds, junk gardening, and decorating with vintage decor. “I just love vintage kitchen utensils and kitchen wares,” she says. “So, you would think that I would love to cook and bake, but that is not the case!” With no practical use for an old wooden rolling pin, she stenciled it in farmhouse style and designed a vignette around it.
How To Make It
Clean any excess cooking oils off with degreaser before painting or stenciling. After securing objects on each side to ensure your rolling pin doesn’t roll off your work surface, arrange stencils on top and tape them in place with blue painter’s tape.
Use black paint to stencil your design using a fine stencil brush in one-quarter-inch width. Sand the stenciling very, very lightly with 220-grit sandpaper to give the words an aged appearance. Spray the stenciling with spray wax. Wipe clean with a paper towel. Hang in your kitchen for a cute, personal element of decor.
3. This Wreath Just Likes Having a Ball

“Create Your Happy Place” is the mantra behind Michael Wurm Jr.’s Inspired by Charm blog, where each project is as happy as the next. This project combines his “mild obsession with glass Christmas ornaments” (which he has been collecting for years) with dressing his home in a touch of holiday nostalgia. “I do realize that this colorful and kitschy look isn’t for everyone,” he says, “but it certainly makes my holiday heart sing.”
How To Make It
Gather your ornaments. And lots of them! Wurm used about 150 all glass, mostly round ornaments in various sizes with a focus on vintage. (He was smart to shop years ago, often on eBay and Etsy in the off-season. As we all know, these now fetch some prices even Santa would balk at. Mixing basic thrift shop balls with fancier vintage varieties takes the pressure off spending a fortune on all vintage.) “You can also use shatterproof or a specific color palette,” he suggests. “If you opt for glass, be aware you will probably break a few along the way.”
Select a wreath. He chose tinsel but a green wreath with faux-pine-like needles works well, too. The right material gives the ornaments and hot glue something to adhere well to. (Tip: Hot glue does not hold glass on glass.) Cut off 10 to 15 percent of the needles; set aside. Using a glue gun, place glue on the ornament; gently press it on the wreath. Ensure the glue comes in contact with the needles for optimum hold.
Attach larger ornaments first, then fill in with smaller ones. Save special favorites to glue on last. Tuck pine needles you cut off in small spaces left between the ornaments; secure with hot glue. Add hot glue as needed on the back to ensure all is well secured — glue is not visible from the front. As needed, add hot glue to a piece of reserved tinsel/pine needles and place it between ornaments to create a stronger bond. Attach floral wire to back of wreath. Put wire around metal frame of wreath for a firm hold. Hang with utmost care!
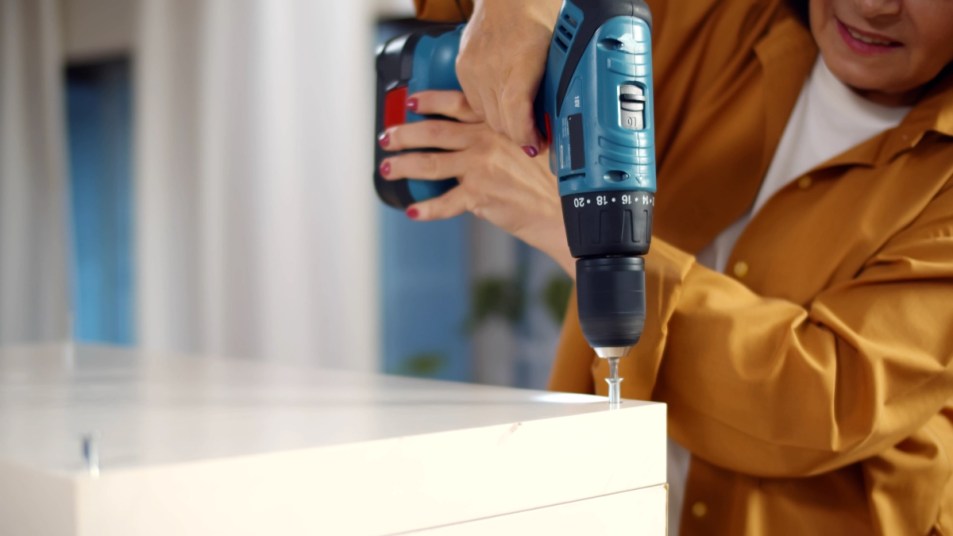
4. Storage on Top of Storage
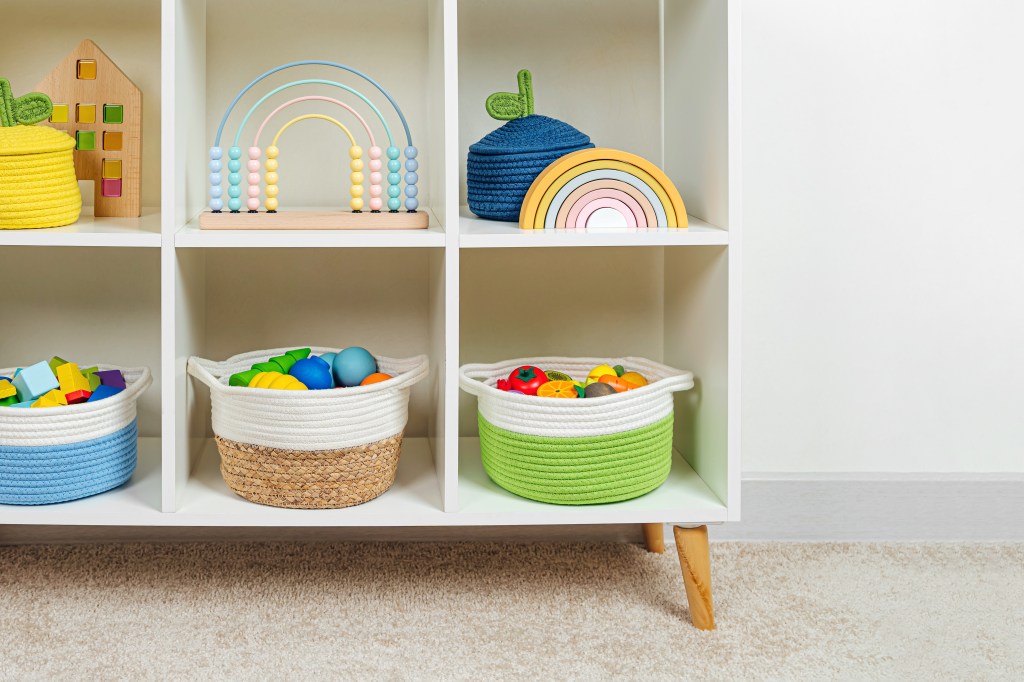

If there’s a way to ensure you never step on a stray LEGO again, this might be it. Serena Appiah of the Thrift Diving blog took a ho-hum bookcase she purchased off the side of the road for $35 and made her three boys a hidden treasure chest on top. “It’s massively solid, heavy and used to sit in a classroom somewhere,” she says. Now, it stands in the kids’ playroom as a tidy way to keep those painful blocks from getting underfoot.
How To Make It
Measure the top of your bookcase and purchase 1” x 3” pine strips to frame the top, plus 1” thick pine boards long enough for the lids. Include about 5/8” overhang so the kids are able to grasp the lids and lift them up. Cut two longer pieces and two shorter pieces of the strips to all fit together with 45-degree angles on top of your bookcase. These create the frame for the storage boxes. Glue the pieces of wood down. Follow glue with your nail gun to secure the pieces to the top of the bookcase.
If desired, add one or more pieces of wood in the middle of the frame to create two or more compartments inside. Appiah added a flat piece along the back of the frame, which gives the lid space to lean back against the wall. She painted the bookcase using a paint sprayer and added white edges and lightly sanded and waxed the top. Attach your boards with hinges for the lids. Fill at will!
A version of this article appeared in our partner magazine, Flea Market Home & Living, in 2022.