How To Clean Your Keurig Coffee Maker, Step by Step
These tips will keep your Keurig in top form.

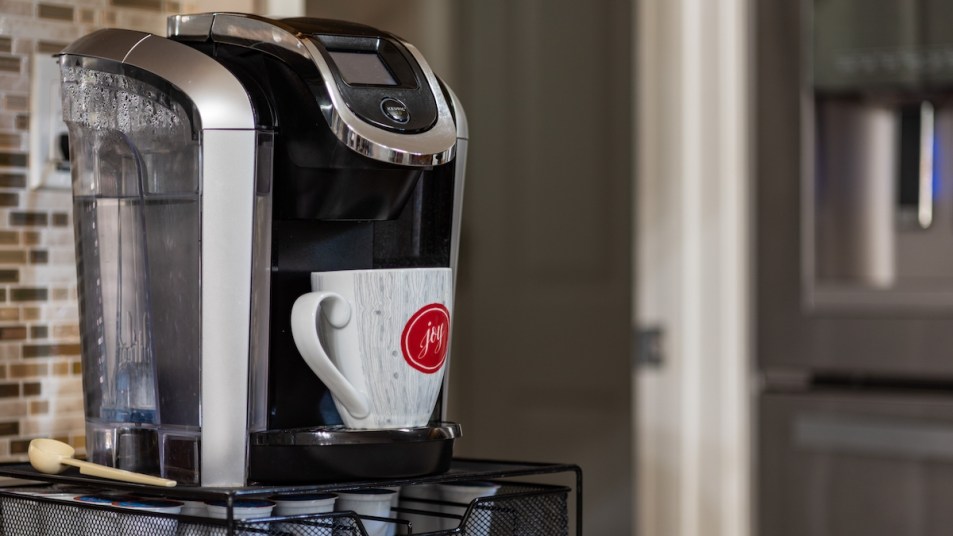
I don’t know about you, but my Keurig coffee maker is a lifesaver. I’m not a morning person, so a cup of coffee that’s ready in under three minutes with zero effort — I just pop the little K-Cup into the machine and the rest happens like magic — makes life before dawn a little easier. My Keurig was a bit pricey, but frankly, it was 100 percent worth the investment. That said, it’s not completely maintenance-free. Like everything in the kitchen, it requires some care to keep it in tip-top shape. If you’re new to Keurig maintenance, keep reading for everything you need to know, including how to clean it.
Why do I need to clean my Keurig?
Just like any piece of kitchen equipment, your Keurig coffee machine (or Keurig-style coffee machine) will accumulate dust and grime over time. It’s important to take out the removable parts and hand-wash them regularly, just like you would a traditional coffee maker. Keurigs — and all coffee makers, for that matter — also need to be rinsed regularly to eliminate the mineral buildup that accumulates when water is heated.
While the buildup of calcium deposits in your coffee maker (a.k.a. scale) is normal and non-toxic, these mineral deposits can hinder the performance of your Keurig and result in a less-than-stellar cup of coffee, hot chocolate, or tea. For this reason, it’s a good idea to clean your machine with a gentle cleaning solution at least once a month. Additionally, each time you descale your Keurig, scrub the water reservoir and check the water filter, K-Cup holder, and drip tray for any leftover coffee grounds or grime. Ensuring your coffee maker is clean is the best way to keep coffee tasting fresh, even after countless brew cycles. So, how exactly does one descale a Keurig? Here’s a step-by-step guide.
Step Zero: Identify Your Keurig
There are many different makes and models of the Keurig, and the descaling process varies slightly for each one. To properly clean your machine, the first thing you must do is identify which one you have. Here, I’ll walk you through the precise steps for descaling a SMART Brewer, Traditional Brewer, or K-Duo. If you own a different model, such as a K-Slim, K-Express, or K-Supreme, refer to the cleaning instructions on the Keurig website.
SMART Brewer
If you have a SMART Brewer, including the K-Cafe SMART, K-Supreme SMART, and K-Supreme Plus SMART, you’ve got an advantage: Your brewer will notify you when it needs to be descaled. Once the Descale notification appears on the screen, follow these instructions.
Step One: Prepare Your Brewer for Descaling
If your machine has a water filter in the water reservoir, remove it. Now you can begin the descaling process. When the screen lets you know that your machine needs to be cleaned, press the left arrow, then CONTINUE, and follow the step-by-step prompts to descale your Keurig. If you find yourself wanting to clean your Keurig more frequently than your machine recommends, you can access these same prompts by opening the Settings (press both arrows simultaneously) and choosing Descale Mode.
Step Two: Time to Descale
Empty your Keurig’s hot coffee pod holder, and pour the descaling agent into the water tank. You use either Keurig descaling solution (sold on their website and most places where Keurigs are sold), or a mixture of equal parts water and distilled white vinegar. If you opt for the Keurig solution, pour the entire bottle into the clean water reservoir. Then, refill the bottle with water and add that to the reservoir as well.
Now you’ll want to brew the coffee maker until the water reservoir is empty again. Press the BREW button, allow it to fill a cup, empty the cup into the sink, and repeat the process until the reservoir is empty and the screen prompts you to add water. If you skip this step, you’ll miss out on the best coffee possible; brewing immediately after a regular cleaning cycle removes the residue that would otherwise cause your coffee to have a vinegar taste.
Step Three: Rinse With Fresh Water
After using all of the descaling agent, remove the water reservoir, rinse it, and refill it with fresh water. Now reassemble the Keurig and go through the same process as before, brewing and emptying a mug with plain water until the machine is empty once more. The screen will advise “Descale Is Complete” when you’ve thoroughly cleaned your Keurig.
Traditional Brewers
Traditional Keurig brewers, including the K-Classic®, K-Café, K- Café® Special Edition, K-Latte®, K-Elite®, K-Compact®, and K-Select® brewers can be descaled much like the SMART single-serve coffee makers (with just a few tweaks).
Step One: Rinse With Descaling Agent
Turn the brewer off, empty the reservoir, and fill it with a descaling agent (as outlined in step two of the SMART brewer section). Remember: You can use either the Keurig descaling solution or a homemade mixture of equal parts water and distilled white vinegar.
Step Two: Internal Tank Soak
Once you’ve used all of the descaling agent and the “Add Water” light is illuminated, let it sit for half an hour. Do not turn the machine off. After 30 minutes, thoroughly rinse the water reservoir.
Step Three: Fresh Water Rinse
Just like step three in the SMART brewer section, you’ll now want to run fresh water through your brewer. Fill the water reservoir entirely and brew it at least 12 times with the largest brew size, even if that means you have to refill the reservoir.
K-Duo Series
Here is how to remove the mineral buildup from your K-Duo Keurig, including the K-Duo™ Essentials™, K-Duo™, K-Duo™ Special Edition, and K-DuoPlus™.
Step One: Cleansing Rinse
As with the traditional style and SMART brewers, you’ll start by powering off the brewer and filling the water reservoir with your descaling agent. Be sure not to add any coffee grounds or K-cups to the coffee maker. Next, place a cup or mug on the drip tray and select “OZ/POD” to activate the single-cup side of the machine. Press “12” to start a rinse for a single cup. When the cup is full, dump it into the sink. Next, place a carafe on the heating plate, press the “CUPS/CARAFE” button, and press “12” to start. This will brew a carafe rinse. When the carafe is full, empty it into the sink, and press the “CUPS/CARAFE” button again to turn off the heating plate.
Step Two: Internal Tank Soak
Once you’ve rinsed out both the cup side and carafe side of your Keurig, let the water reservoir sit for at least half an hour.
Step Three: Fresh Water Rinse
Next, fill the reservoir with fresh water to the max line, and brew a carafe of fresh water. Once complete, turn the heating plate off and dump the carafe into the sink. Repeat this at least four rinses to ensure you thoroughly eliminate the descaling agent. (If you find that your coffee tastes off or sour after descaling, it could mean that the vinegar or descaling solution were not sufficiently rinsed out. To fix, run a few more brews of fresh water.)
Other Tips for a Full Deep Clean
While the frequency that you will need to descale your Keurig depends on the model, you should regularly clean it in other ways to prevent clogs and buildup of mold and coffee grounds. Clean all removable parts, such as the drip tray and water reservoir (in some models), and scrub them thoroughly with fresh water and distilled white vinegar or dish soap. Avoid bleach, as it can be toxic or corrosive if not properly rinsed out — soapy water will suffice.
It’s important to wipe down the drip tray and rinse the pod holder frequently — these are usually dishwasher safe. If your Keurig seems clogged, use a Keurig Needle Cleaning Tool (or a paperclip) to clear out grounds that have built up in the needle, which is the passageway underneath the pod holder. Poke the tool through both ends of the needle and then rinse it out with fresh water to ensure that your coffee maker is thoroughly unclogged.
Taking good care of your Keurig will extend the life of your coffee maker and ensure your morning cup of joe tastes as fresh as possible. Cleaning different parts of the machine may be annoying, but it will be well worth it to have a delicious cup of coffee at your fingertips.


