How to Hang Picture Frames on Any Wall: Home Pros’ Tricks Make It So Easy
Plus, the toothpaste tip that’ll ensure the perfect gallery wall
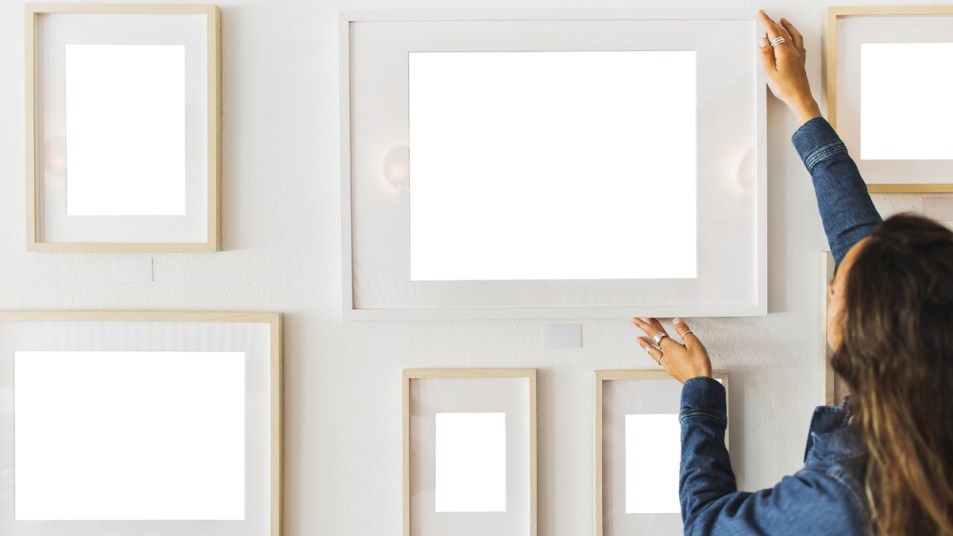
Whether you’re looking to assemble a Pinterest-worthy gallery wall, trying to adjust crooked canvases or struggling to hang pieces on challenging surfaces, sometimes it can feel like you need an interior design degree just to know how to hang picture frames in your home. You’re not alone — which is why we’ve consulted the experts to get their top tricks for hanging photos, canvases and more without turning your walls into Swiss cheese.
How to hang picture frames based on what type of wall you have
The first step in hanging picture frames: get a sense of how much the piece you want to display weighs. Anything under 10 lbs. likely can be hung using a command hook or another stick-on method. “These are ideal because they won’t damage walls, and most are adjustable, meaning you can unstick the piece and move it somewhere else or replace it with a different photo if you want with zero impact to the wall,” says interior decorator Bob Thomas of HearthAndPetals.com. One option: Command Universal Frame Hangers (Buy from Amazon,$10.98)
1. How to hang picture frames on sheetrock
Any piece weighing more than 10 lbs.— which is most framed art larger than 10×10 inches — is going to need extra support. “If that’s the case, make sure the nail or screw you’re using is secured into a stud — if not, you risk the piece falling and breaking, plus it can also pull a chunk out of your wall on the way down and cause damage,” Thomas says. Studs are the wooden supports that hold up your wall, and they’re typically placed 16 inches apart in vertical lines behind the surface of your wall.
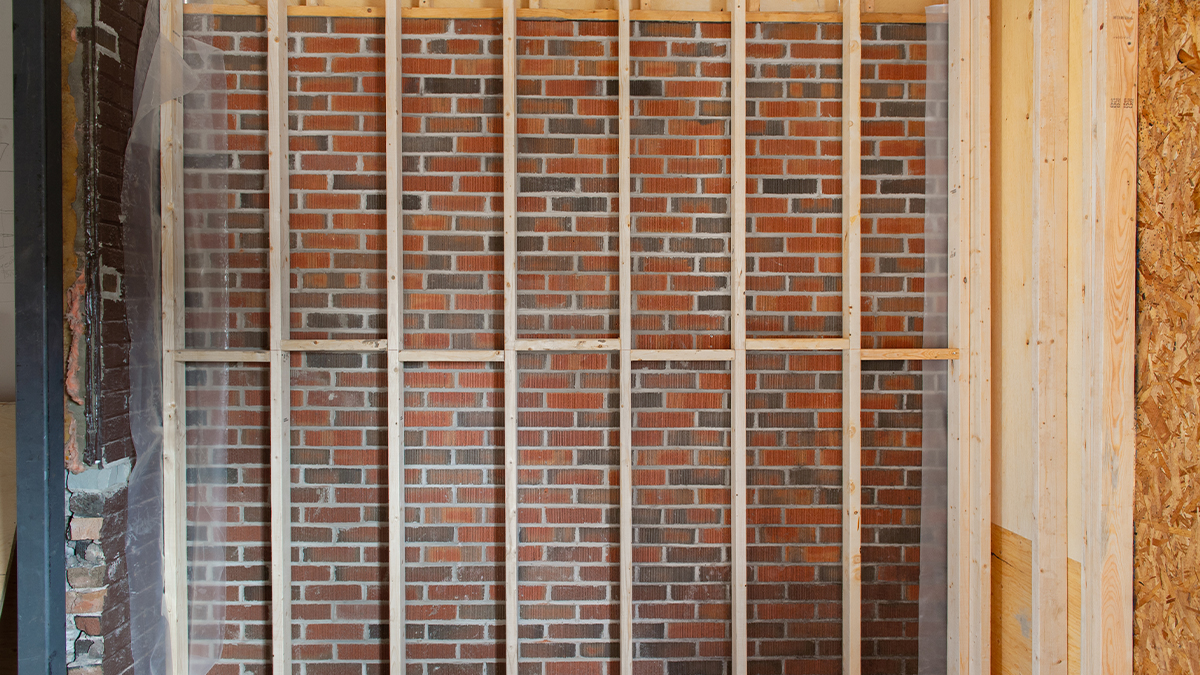
To pinpoint studs easily: Since you can’t see studs with the naked eye, it can be tough to locate them — but luckily, you don’t need a fancy stud finder to do it. “Just press an electric shaver lightly against the wall and move it in different directions until the frequency of the vibrations changes,” says artist Emily Clare, publisher at Fine Art Tutorials. “You will easily hear the difference in pitch, which will indicate where the studs are.”
No razor on hand? Try gently knocking on the wall every inch or so — the sound will be less hollow when you’re over a stud. You can also locate studs using a magnet and a piece of string, as seen in this YouTube video from Today’s Homeowner with Danny Lipford:
Once you’ve pinpointed the right spot, just find your surface below and follow the easy how-tos. Click here for more on how to find studs in a wall without a stud finder.
2. How to hang picture frames on stone surfaces

Whether it’s a spot above your fireplace or a stone accent wall, hanging art on this surface can be daunting — but it’s not impossible! First, you’ll need a masonry drill bit, which you can buy at any home improvement store; look for ones made by the same brand as your drill to ensure they’ll fit. You’ll also need screws and wall anchors. Put on goggles, then drill using a bit the same diameter as the anchor. Drill into the mortar, advises Thomas, who says it’s much easier than trying to make a hole in the stone itself. Hammer the anchor into the hole you made, then add in the screw leaving enough sticking out for whatever you’re going to hang on it.
3. How to hang picture frames on brick or concrete walls
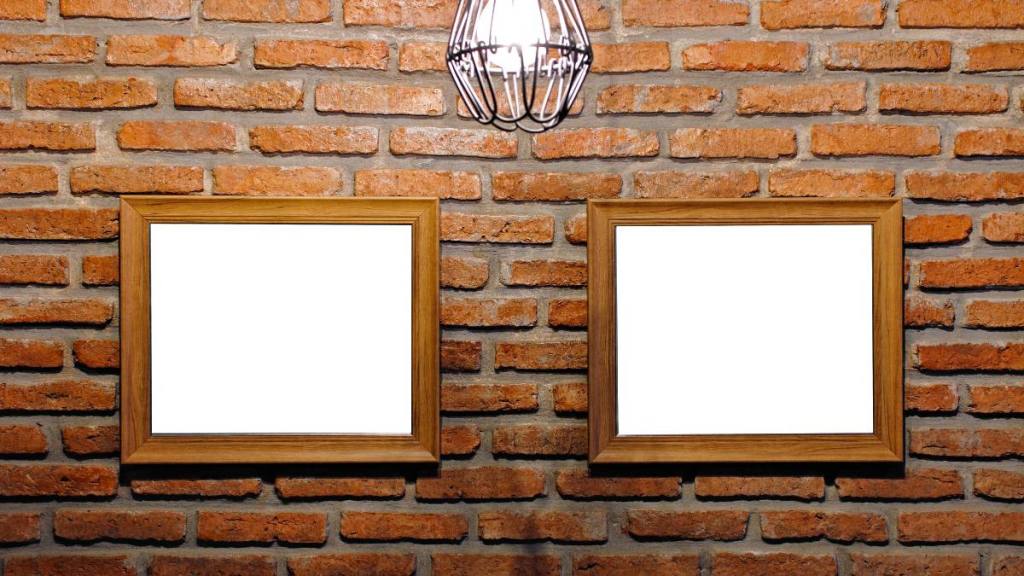
These surfaces are found in both older and modern homes and are especially common in city apartments. “If you ever tried to hammer a nail or insert a screw into brick or concrete, you quickly realized it’s not going to work,” admits Thomas. “Fortunately, there are special anchors and screws designed for these walls. Those made for brick grip the brick itself and anchor in the mortar, while anchors made for concrete use four smaller pieces of metal to firmly grip the wall.”
For brick, try Aieve Brick Wall Clips (Buy from Amazon, $16.99) or Brick Hook Clips (Buy from Etsy, $9.79,) For concrete, you can use Concrete Wall Invisible Hangers (Buy from Amazon, $9.99) or 3-Piece Cement Pin Hook, (Buy from Home Depot, $2.97).
4. How to hang picture frames on plaster
If your home was built prior to 1950, chances are your walls are plaster. If you’re not sure, just grab a tack or pushpin and try to insert it into the wall — if it goes in easily, you’re working with drywall. If it won’t budge, you’ve got plaster. “If you try to hammer a nail into plaster it’s going to crumble and create a mess,” says interior designer Brad Smith, CEO of Omni Home Ideas. Instead, follow the same process you would for the stone above, but before drilling the hole, place a piece of tape over the spot — this will prevent the plaster dust from getting everywhere while you drill.
Create a beautiful gallery wall with these genius hanging hacks
Nothing brings a room together as quickly as a thoughtfully curated assemblage of art or photos. Just read on for the pro tricks that will take your wall from ho-hum to oh-wow
Start with a simple tape trick
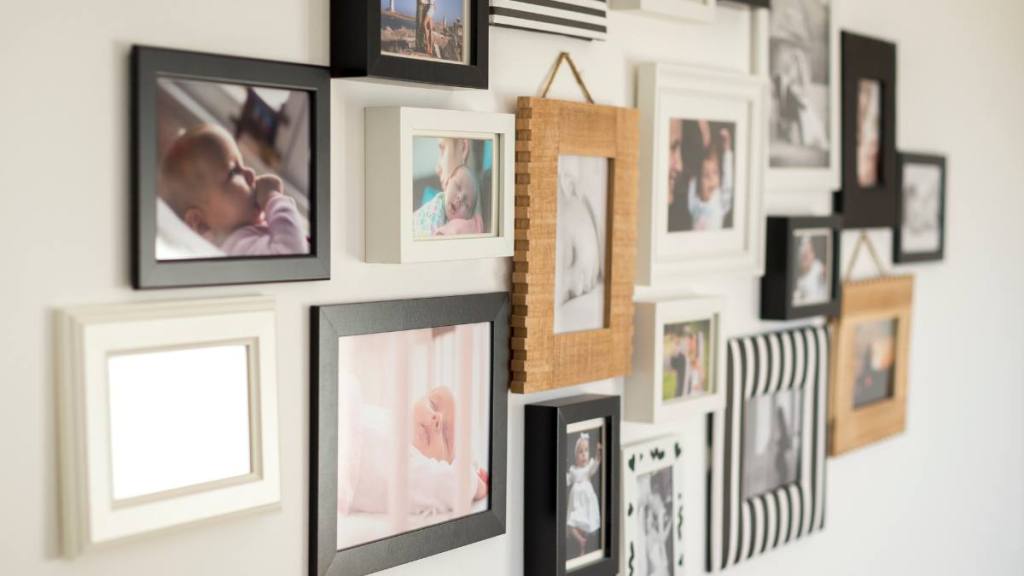
Photo walls are more popular than ever, but they can be overwhelming to plan out, especially if you’re hanging a bunch of pieces that are different sizes and shapes. “To set up the perfect gallery wall without making a million nail holes, just grab some contact paper, trace each piece you want to hang on it, then cut the paper out and tape it to the wall,” says interior decorator Pattie Kelly of Inspired Home Interiors. “You can rearrange the paper as often as you need without any wall damage, and once everything is set, that’s when you can start hanging the actual pieces — just nail right into the paper, tear it away, and hang the corresponding photo.”
*Nail* nail placement with toothpaste
Even when you know where on the wall you want to hang something, figuring out the correct place to hammer the nail seems like it requires grad school-level mathematics skills. Luckily, you can skip all the measuring, leveling and pencil marks with this trick: Take a dab of toothpaste and smear it onto the hanging hook on the back of the frame, then press the piece of art against the wall where you want to hang it. The toothpaste will stick to the wall and indicate exactly where the nail should go. Also smart: Consider using painter’s tape to ensure your picture hangs level and in the correct place. To do this, just follow the easy steps in this video from @thedailydiy:
Prevent nail scuffs with a strategic sponge
Looking to switch up some items you already have hanging and need to remove a few nails? While the claw part of a hammer might work wonders at this, it can also leave dark, dirty streaks behind. “Just hold a sponge or piece of paper next to the nail where you plan to use the claw — either is flat enough to give you the full range of motion you’ll need to pull the nail but will prevent the hammer from leaving any marks on your wall,” says Smith.

For more easy home hacks, click through the links below:
The Rubber Band Trick That Removes a Stripped Screw + More Pro Handyman Tips
The Genius Talcum Powder Trick That Silences a Squeaky Door Better Than WD40
One Way To Remove Duct Tape Residue? Use More Duct Tape! House Pro’s Genius Trick


