How to Do Dip Nails at Home for Pennies — Manicurists Share Their Easy Tricks
Gorgeous nails without leaving the house!
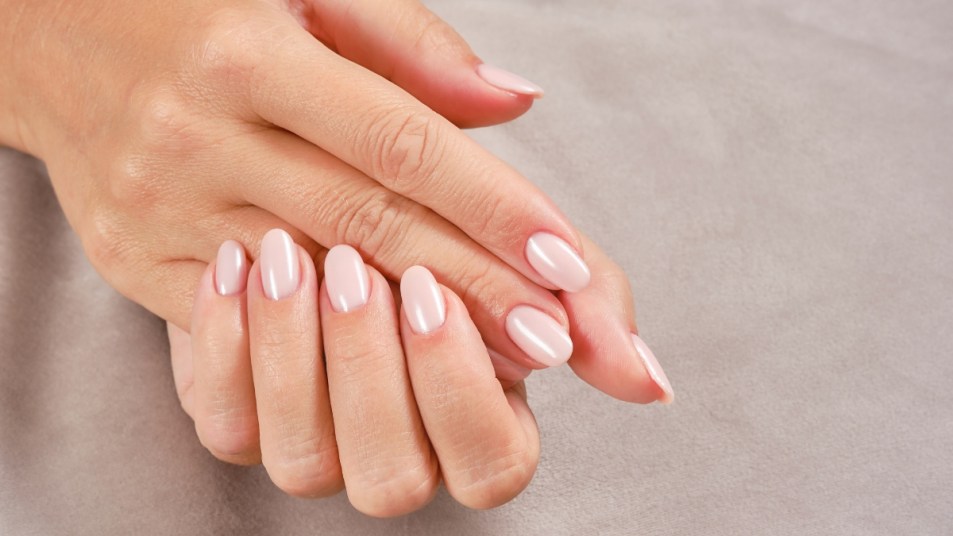
Salon-worthy nails without the salon price tag? Sign us up! Thankfully, an easy way to achieve this is to use dip powder, which is the innovative manicure technique taking the beauty world by storm and can also be done at home. Dip nails ditch the need to be precise with painting on polish, and there’s no harsh chemicals involved in order to get a chip-resistant, super-shiny look in just minutes. But beyond its ease and durability, dip nails offer a world of benefits, from vibrant colors to stunning finishes at an affordable price point. Keep reading to learn how to do dip nails at home and the kits that make it a cinch.
What are dip nails?
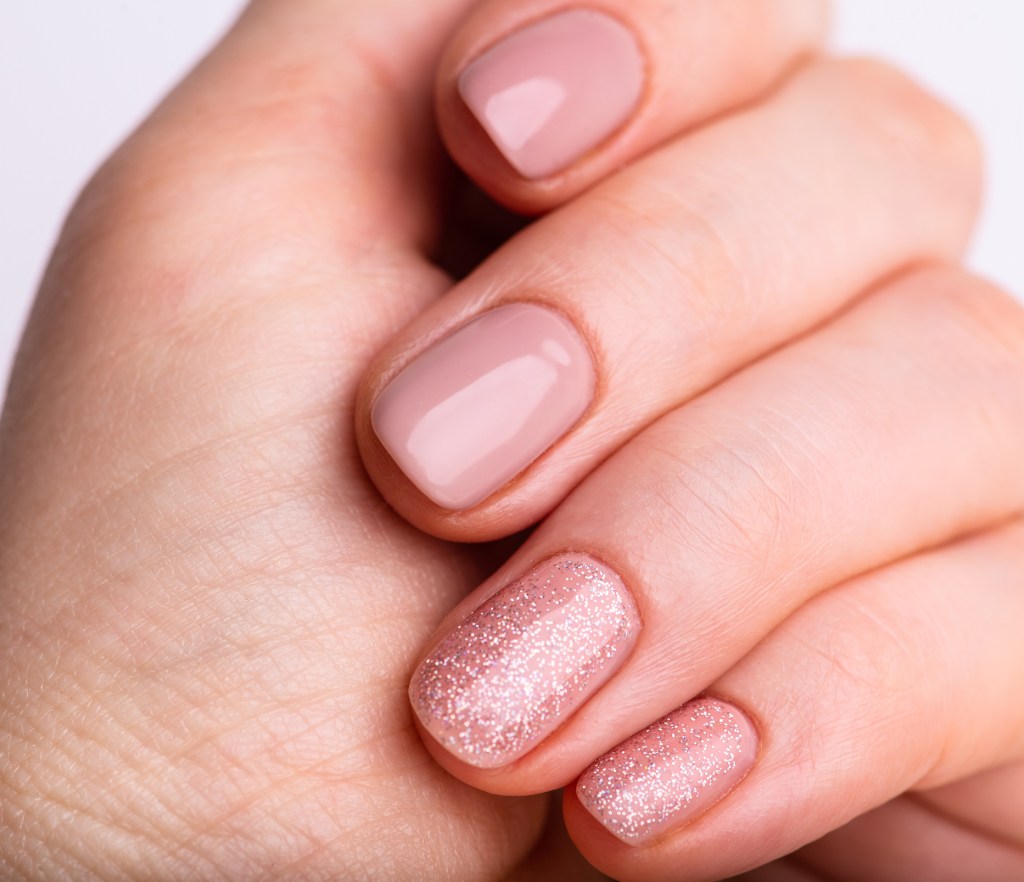
“Dip nails are similar to acrylic nails in some ways, and they use the same powder as acrylic nails, but the application is different,” says Michelle Nguyen, nail expert and founder and CEO of PLA Nails. “For dip, a base coat is applied before dipping or applying the colored powder onto nails until you achieve desired pigmentation. Dip nails also use different liquids — often resin-based — as acrylic uses a monomer to activate the powder.”
If you’re asking for dip nails at a salon, they are also known as Signature Nail Systems (SNS) nails or powder nails. And the manicure gets its name from nails being dipped into colorful acrylic powder. This means that instead of messy brushstrokes, the dip technique provides a more even and flawless application.
The powder itself bonds directly to your natural nail, creating a strong and flexible barrier that resists chipping and cracking for weeks, often longer than traditional polish or gel. Dip nails also boast a wider range of color and effect options, from shimmering metallics to subtle nudes, and even intricate nail art designs. This is why it’s an extremely popular nail enhancement as it combines the best of both worlds: long-lasting wearability without harsh chemicals or excessive processing. (Tip: Click through to learn how a stylish short manicure helps ease symptoms of breast eczema.)
The benefits of dip nails
The biggest pro of dip nails is that they will last longer than a regular manicure, says Hayley Dang, a nail artist at Bellacures. Dip is stronger than gel but not as strong as acrylic, adds Nguyen. She notes that dip nails do “offer increased durability, strength and long-lasting color.”
Another reason to consider doing this type of manicure? “The dip powder will maintain the integrity of your nails, which is great for your nail health,” says Dang. And she says dip is also natural-looking and helps grow out your nails.
Best of all, dip nails are a quick application and Nguyen adds that this manicure does not require UV light for drying.
How much do dip nails cost?
Dip nails at the salon can cost anywhere between $30-$50 or even more, says Nguyen. “If you buy a dip kit, it will likely cost around $20-$50, but it will last for multiple applications.”
How to do dip nails at home
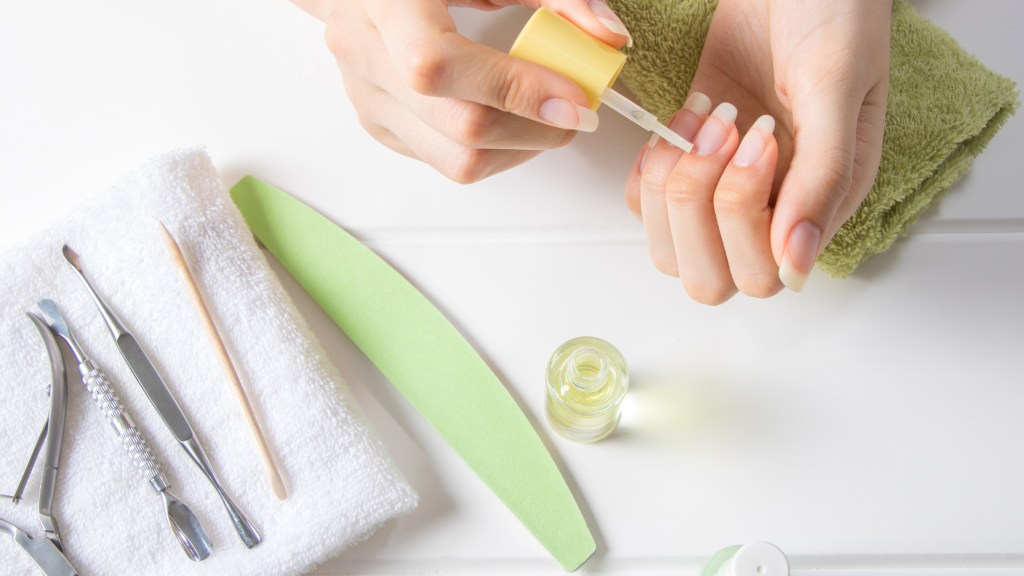
Doing dip nails at home is easy, says Nguyen. The only thing difficult about them, she says is the removal process (click here to learn more about how to remove dip powder from nails). Here, the easy steps for how to do dip nails at home.
- “Start with clean nails and buff them a bit to help the dip stay on longer,” says Nguyen.
- Apply a thin layer of base coat, which will help the powder go on smoothly.
- Dip nails into the powder color of your choice. “Gently tap the finger on a flat surface after dipping to get rid of any extra powder before applying your second layer of base coat.” A brush can also be used to whisk away residual powder.
- Dip nails in the powder again and tap or brush to remove excess powder.
- Add another layer of base coat, then dip nails into the powder one more time if needed; remove excess.
- Apply a layer of the activator coat (dip nail kits include this) to all nails to dry and set the powder. “Applying the activator is key to keeping your nails fresh and avoiding any lifting and uneven edges,” says Dang.
- Lightly file nails to even out the surface and re-shape nails.
- Finish with a layer of top coat. “This will help the nails be shiny and smooth,” says Nguyen.
For more tips on how to do dip nails at home, watch the below tutorial from @MarlaKris on YouTube.
How to make dip nails last longer
To ensure dip nails last as long as possible, you’ll want to start by prepping the surface of the nail before applying dip powder, advises Nguyen. “Make sure the natural nail does not have any oils, has a little grit and is not too smooth so that it can stick to the nail. Also smart? Dang says using cuticle oil regularly can help a dip powder manicure last longer.
The best at-home dip nail kits
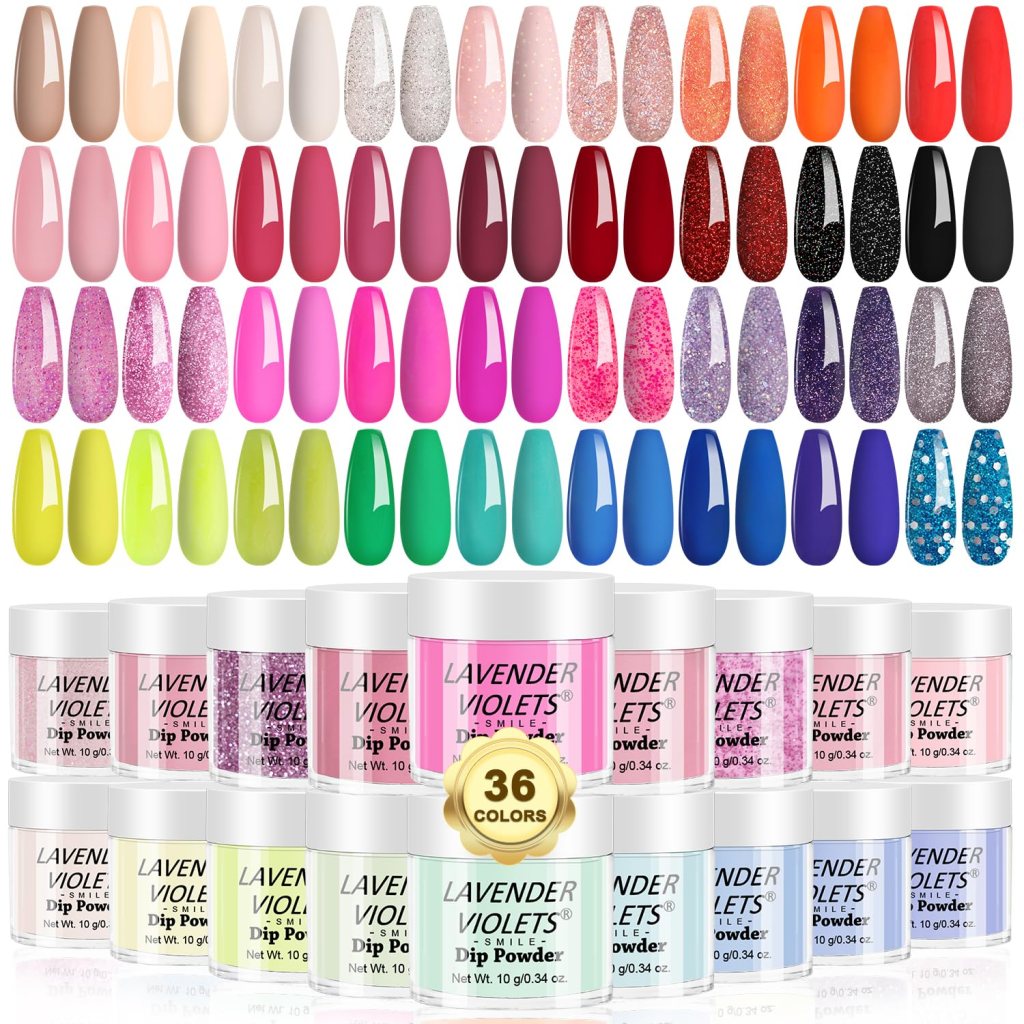
Lavender Violets 36 Colors Dip Powder Nail Kit (Amazon.com, $29.99)
For a kit that comes with a rainbow variety of colored dip powders, look no further than this option. The powders also come in a range of finishes from shiny to matte, shimmery and glittery.
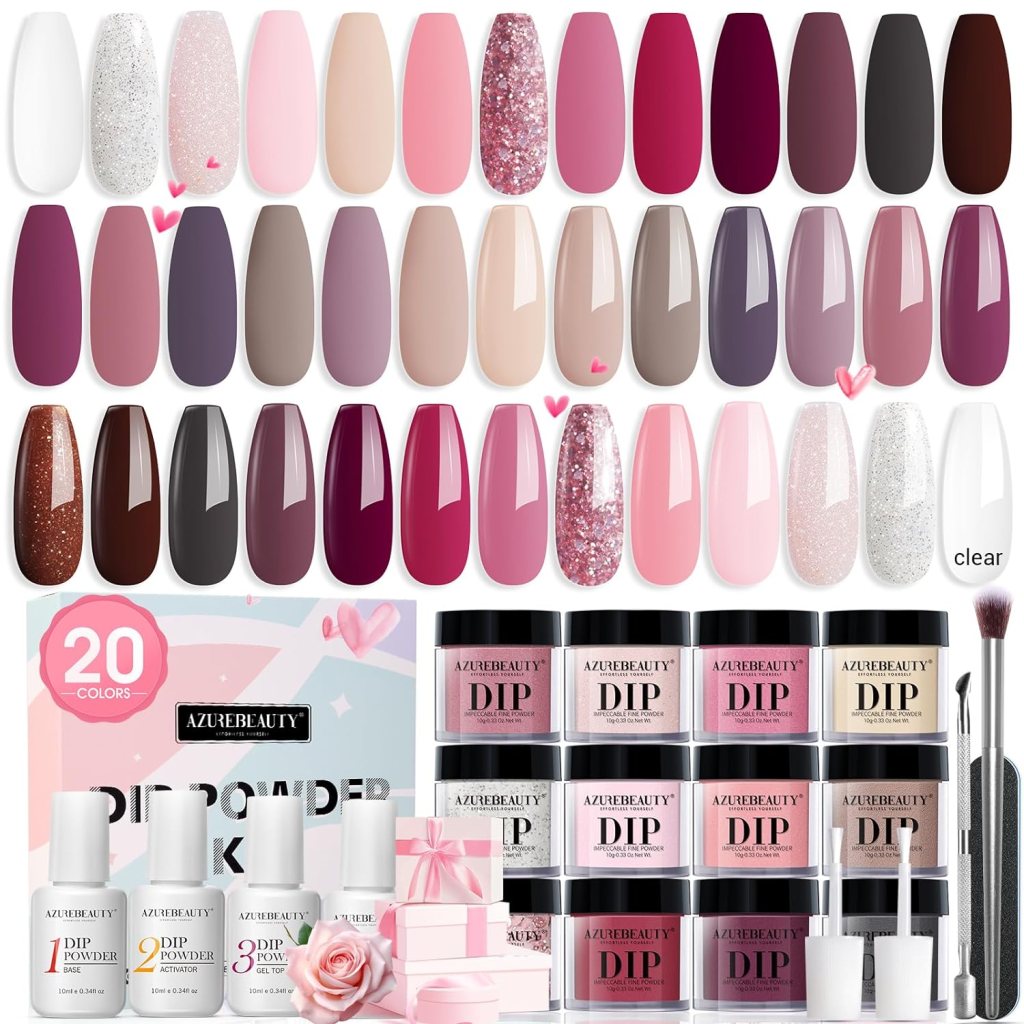
AzureBeauty Dip Powder Kit (Buy from Amazon, $25.99)
Dang likes this kit, as it’s quick and easy to apply. “There are also many colors to use and it comes with the essentials, as well as a dust brush, a cuticle pusher and a nail file.”
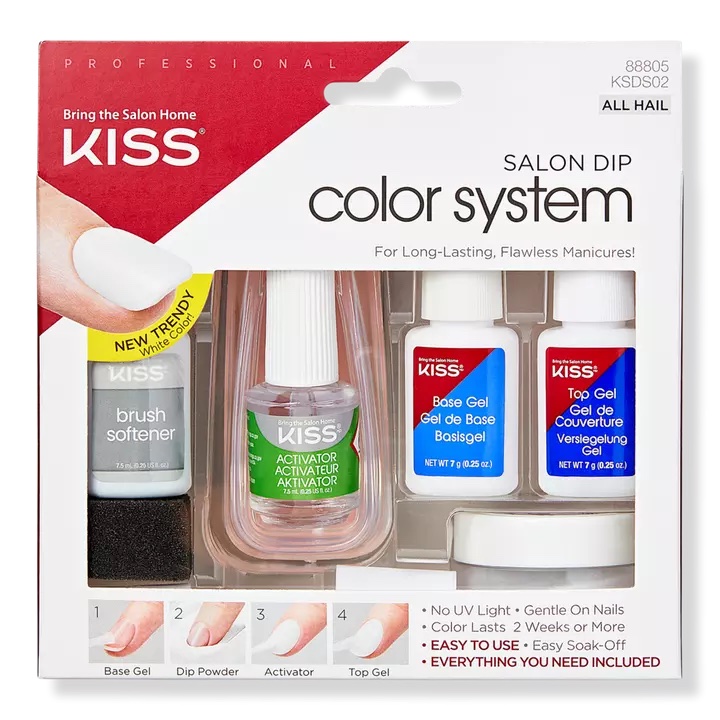
KISS Salon Dip Professional Professional Dipping System Nail Dip Kit (Buy from Ulta, $20.99)
While this set just comes with one shade, it has everything you need if you’re new to trying out this type of manicure. And the instructions could not be easier to follow!
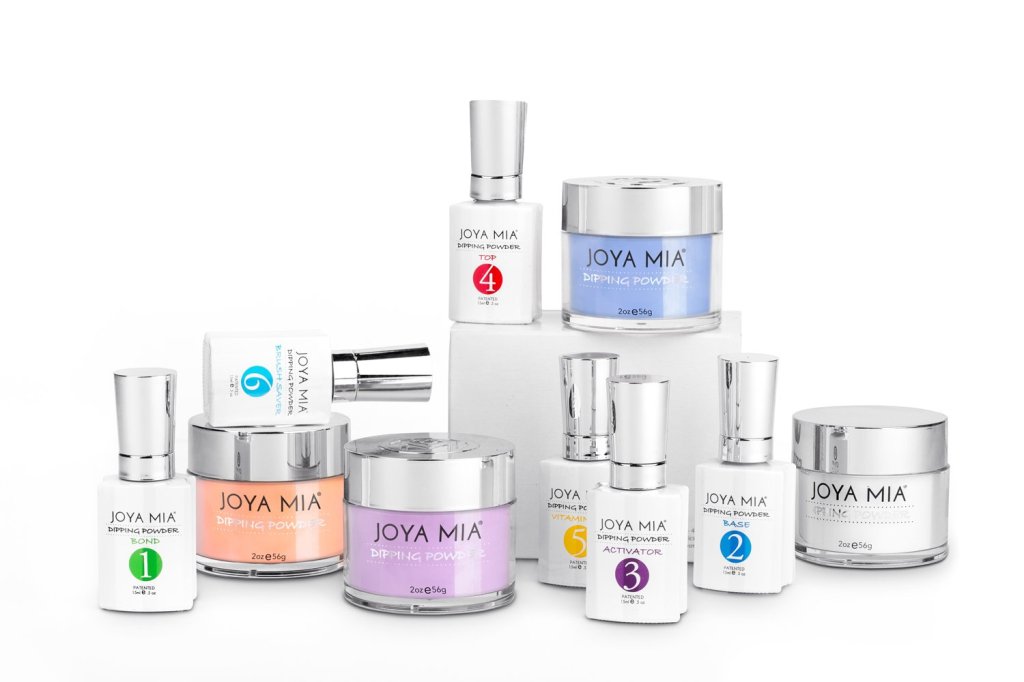
Joya Mia Complete Nail Dipping Powder Starter Set (Buy from Amazon, $79.99)
This set comes with one clear and three color powders, plus all the pre- and post-manicure tools to ensure nails look great. One reviewer on Amazon says: “Absolutely love the product! Goes on easy. Stays on well!”
How to keep your nails healthy after removal of dip powder
Dana Stern, MD, dermatologist and founder of Dr. Dana Nails, says, “dip manicure removal often requires scraping and a long acetone soak, which can lead to nail damage, brittleness and super dry, dehydrated cuticles.” She recommends repairing stressed out cuticles with a nourishing cuticle oil, like Dr. Dana Nourishing Cuticle Oil (Buy from Amazon, $18). This oil is formulated with indigo naturalis and sunflower and jojoba oils to support nail growth and nourish cuticles. This is important because the cuticle is the nail’s natural protective seal and the key to overall nail health.
“When your skin is dry and peeling you can reach for the nearest loofah to exfoliate the dead cells in order to allow for maximum absorption of your moisturizer,” says Dr. Stern. “The same concept is true of the nail. If you were to look at a nail under the microscope you would see that there are layers of damaged, dehydrated nail cells — this is why the nail peels and splits, and even why polish doesn’t always go on so smoothly and has more of a tendency to chip.”
Post dip removal will exacerbate the nail and therefore the health of nails, says Dr. Stern. This is why she says “exfoliation becomes key.” To gently exfoliate nails, use a kit, like Dr. Dana Nail Renewal System (Buy from Amazon, $30), which contains glycolic acid to exfoliate and rejuvenate your nails after a dip manicure has been removed.
For more inspiration for your next manicure, click through these stories:
10 Fun Blue Nail Ideas to DIY at Home or Bring to Your Next Nail Appointment
Manicurists Reveal the Top Nail Shapes of 2023 That Are Sure to Flatter Your Fingertips
Ask for ‘Shellac Nails’ For the Most Natural Looking Artificial Nails On The Market


