The Secret to Green Beans That Snap Deliciously When You Bite Into Them? Shocking Them *This* Way
It takes just 2 minutes — and the difference is amazing!
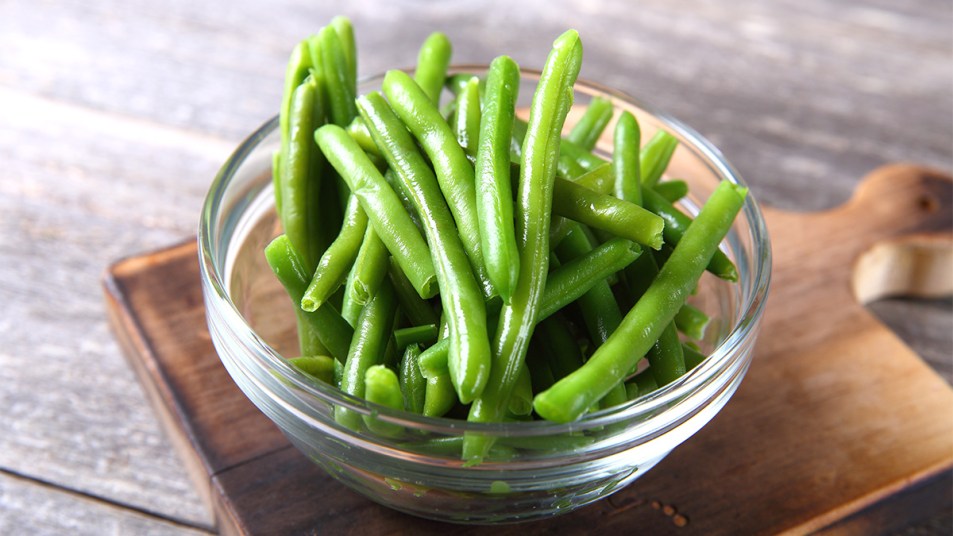
Green beans are a classic side dish … and we’re not just talking about for Thanksgiving. Sure, it’s easy to just steam them and call it a day, but then they often end up bland and a little mushy. We prefer a sautéed green bean, and to truly get the freshest, most delicious flavor — and that vibrant color — there’s a simple step a lot of home cooks skip: quickly blanching the green beans first. It’s the secret that’ll make even the pickiest eaters polish off their veggies! And it’s great for casseroles, crudité and other green bean uses too. Just keep reading for our easy guide on how to blanch green beans.
Why blanching is important for green beans
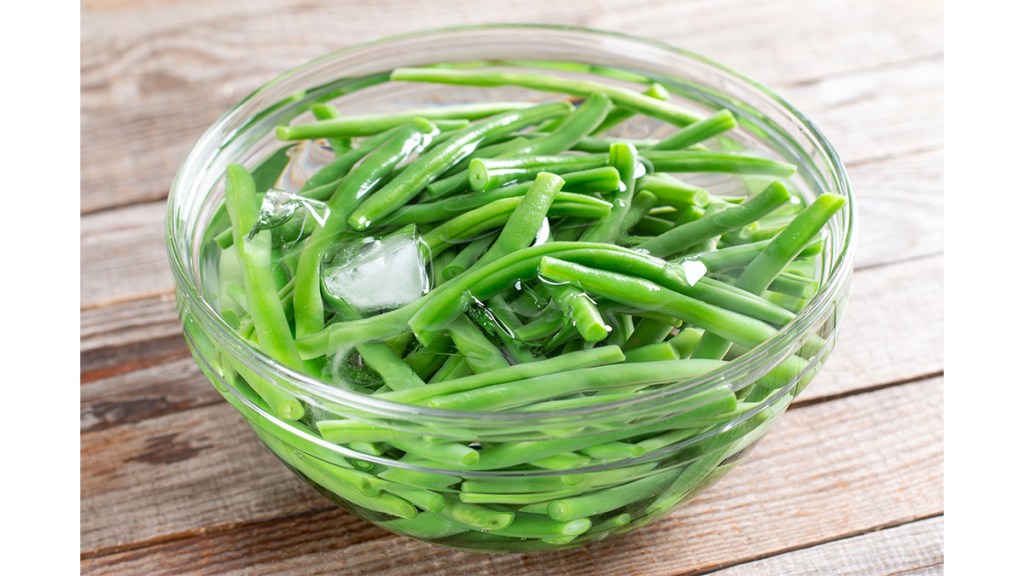
Blanching is the process of submerging vegetables in boiling water for a few minutes, then removing and “shocking” them in ice water. This results in veggies that are just slightly cooked.
“Blanching green beans not only brings out the bright green color of the beans, it cooks them just enough to maintain the still-crisp snap of the beans when you bite into them,” explains Woman’s World Food Director Julie Miltenberger. That makes them extra tasty for using in salads or pairing with dips. And when it comes to sautées and casseroles, blanching kickstarts the cooking process to make sure the green beans are perfectly heated all the way through.
How long it takes to blanch green beans
Blanching green beans should only take 2 to 3 minutes on the stove and 4 to 6 minutes in the microwave before dunking them in ice water. Julie notes that the cold bath is key for immediately stopping the cooking process and preserving the veggie’s freshness.
How to blanch green beans
Green beans are so easy to blanch. Just remember that it’s better to work in batches to avoid overcrowding in the pot and ensure the veggies are cooking evenly. Find a nice big pot, prep a bowl of ice water and rinse your green beans before getting started.
Here’s an easy-to-follow method for blanching green beans from Chef Jacob Burton.
- Wash and trim the ends from green beans.
- Bring a large pot of water to a boil and add a generous pinch of salt.
- Place a handful of green beans into the water and cook for 2 minutes.
- Then, submerge them in a bowl filled with ice water to shock the beans for 15 seconds. Remove them from the water and pat dry with paper towels.
- Cook with the green beans again by sautéing them right away or placing in plastic bags to keep in the fridge for up to 5 days.
See how well Burton’s blanching technique works in the video below:
How to blanch green beans in the microwave
Your microwave is another option for blanching green beans if you don’t feel like boiling a pot of water. Plus, the microwave’s timer is a lifesaver because it’ll ding exactly when the veggies are done so you won’t need to guess or risk overcooking them.
Although we usually think microwaves make cooking faster, blanching actually takes a few minutes longer because of the lack of direct heat. However, it’ll still get the job done pretty quick. Here’s how:
- Wash and trim the ends from green beans. Place the beans in a 1- to 1½-quart microwave-safe casserole dish. If you don’t have a dish that size or it doesn’t fit in your microwave, use a smaller dish and work in batches.
- Add 1 cup water and cover with plastic wrap.
- Microwave on high for 2 to 3 minutes before stirring and microwaving for another 2 to 3 minutes.
- Drain and immediately dunk the green beans in ice water. Do this process again with the remaining green beans if you’re doing batches.
- Blot any excess water from the veggies with paper towels. Reheat them right away or place in plastic bags to store in the fridge for up to 5 days.
Why you should blanch green beans before freezing
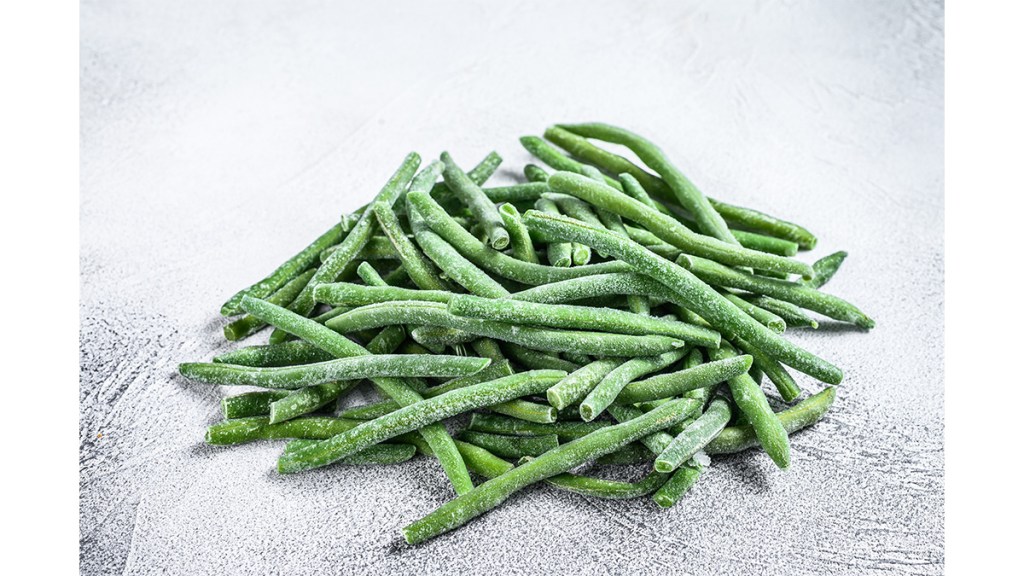
If you went a little overboard with veggie shopping and bought several bags of green beans, blanching can help them last way longer in the freezer. “Blanching stops enzyme actions which otherwise cause loss of flavor, color and texture,” the experts at Clemson University explain.
You can follow the same methods listed above for blanching in the microwave or the stovetop. After you’ve shocked them in the ice bath and dried them off, just place them in plastic bags and freeze. Nutrition expert, Toby Amidor, MS, RD, CDN, FAND, says that blanched green beans can last up to 10 months in the freezer. This means you’ll have plenty of time to figure out yummy dishes to reheat them in!
The green beans should still have their crisp texture once warmed back up. They can be reheated super quickly on the stove or used in your favorite casserole recipe baked in the oven. And for dishes like green bean casserole, Eating Well food editor Hilary Meyer says there’s no need to thaw them before baking. “They hold their texture better than canned, and you can cook them straight from their frozen state,” she says. You can let the oven do all of the work, which will totally come in handy while prepping for a big feast.
2 recipes using blanched green beans
Now that you have all the tips for blanching green beans, check out these two mouthwatering recipes from our test kitchen, which are perfect to enjoy for lunch or dinner!
Niçoise Salad
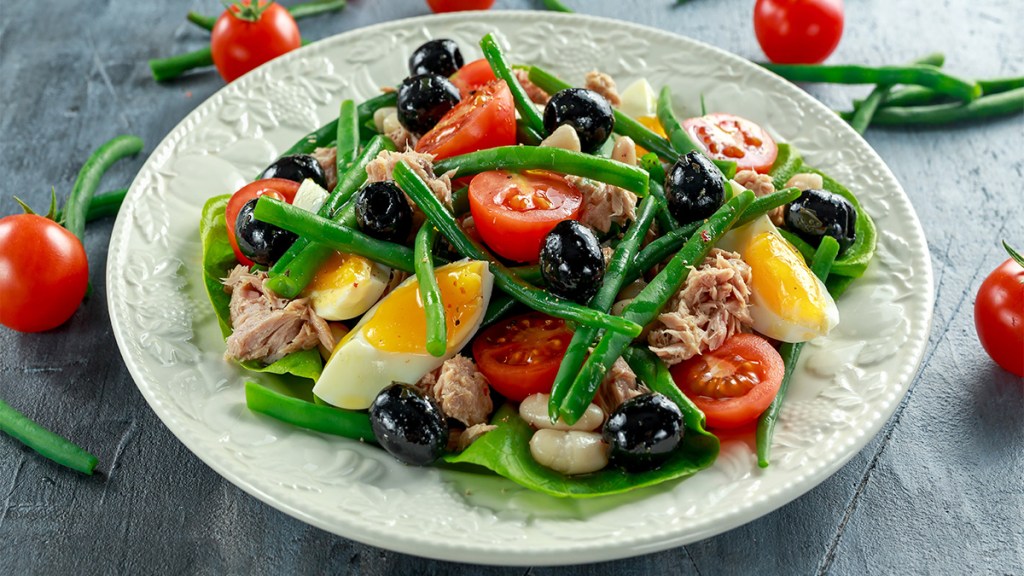
Canned tuna gets an easy upgrade in this toss that’s even more delicious with a quick Dijon vinaigrette.
Ingredients:
- 4 eggs
- 8 oz. baby fingerling potatoes
- 8 oz. green beans, trimmed, halved
- 2 Tbs. white wine vinegar
- 2 Tbs. finely chopped shallots
- 1 Tbs. Dijon mustard
- ¼ tsp. salt
- ¼ tsp. pepper
- ⅓ cup olive oil
- 6 cups torn romaine lettuce
- 2 (5 oz.) cans solid white tuna in water, drained
- 1 cup cherry tomatoes, halved
- ⅓ cup drained Niçoise or Kalamata olives
- Canned flat anchovy fillets (optional)
Directions:
- Active: 30 mins
- Total time: 30 mins
- Yield: 4 servings
- In pot over high heat, combine eggs with enough water to cover by 1-inch; bring to a boil. Cover. Remove from heat; let stand 9 to 10 minutes. Drain. Cover eggs with cold water. When cool, peel and quarter.
- Meanwhile, bring large pot of salted water to a boil. Add potatoes; cook until tender, 10 minutes, adding green beans during last 3 minutes of cooking time. Drain; place green beans in ice water bath to shock about 15 seconds. Halve potatoes.
- In bowl, whisk vinegar, shallots, mustard, salt and pepper. Gradually whisk in olive oil. Transfer lettuce to serving platter. Top with tuna, tomatoes, potatoes, green beans, olives, eggs and, if desired, anchovy fillets. Serve with dressing.
Green Beans and Almonds
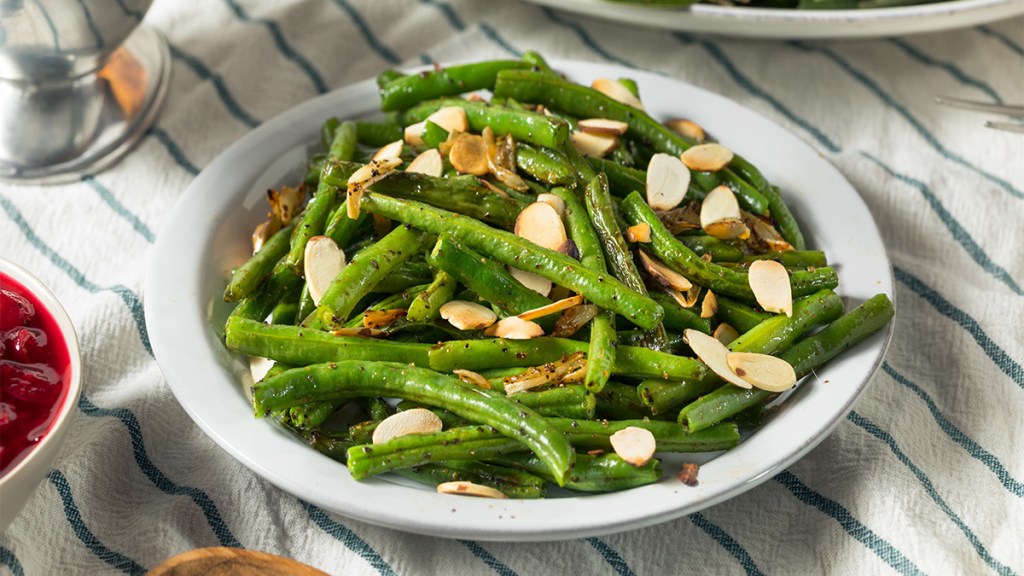
Toasted nuts add just the right amount of crunch to this tasty side, while our mustard vinaigrette gives it zing.
Ingredients:
- 1 lb. green beans
- ½ cup grape tomatoes
- ¼ cup slivered almonds
- 2 Tbs. olive oil
- 2 tsp. apple cider vinegar
- 1 tsp. Dijon mustard
- 1 clove garlic, minced
- ¼ tsp. salt
- ⅛ tsp. pepper
- 2 Tbs. chopped red onion
Directions:
- Active: 20 mins
- Total time: 25 mins
- Yield: 4 servings
- Halve green beans; quarter tomatoes. Bring large pot salted water to a boil; add beans. Cook until crisp-tender, 3 minutes. Drain; add green beans to ice water bath and shock about 15 seconds. Pat dry.
- In dry skillet over medium heat, cook almonds, stirring, until toasted, 5 minutes; let cool. In large bowl, whisk together oil, vinegar, mustard, garlic, salt and pepper. Add beans; toss until coated. Transfer to serving plate. Top with tomatoes, almonds and red onion.
Looking to upgrade your other weeknight side dishes? Keep reading!
This *Oven Rice* Hack Is the Secret to Fluffy & Flavorful Grains Every Time — No Stirring Needed
Cowboy Butter Is the Easy Secret to Add Big Flavor to Any Dish — Here’s How to Make It


