Seed Swap: The Free (and Fun!) Way to Get a Jump Start on Your Garden Right Now
Plus, helpful tricks ways to get your seeds started indoors!
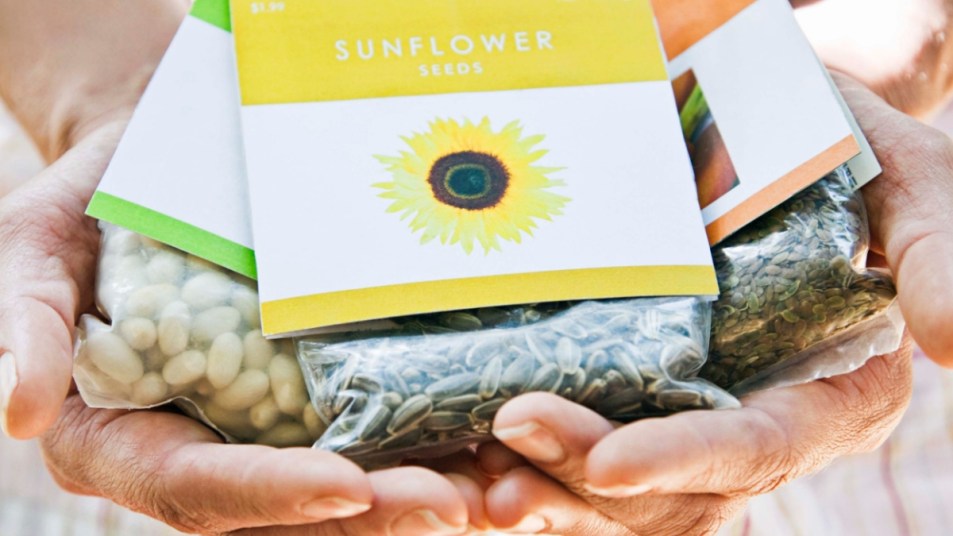
It’s never too early to start planning your garden! Depending on your location, you may be stuck waiting a few more months for spring weather before you can get to planting outside. But there’s one step you can take toward making your dream garden come to life, even in the colder months: seed swapping. Below you’ll find the perks of engaging in a seed swap, how to find one near you and tricks for mailing seeds to fellow gardeners. Plus, clever ways to get a jump start on growing your newly collected seeds!
What is a seed swap?
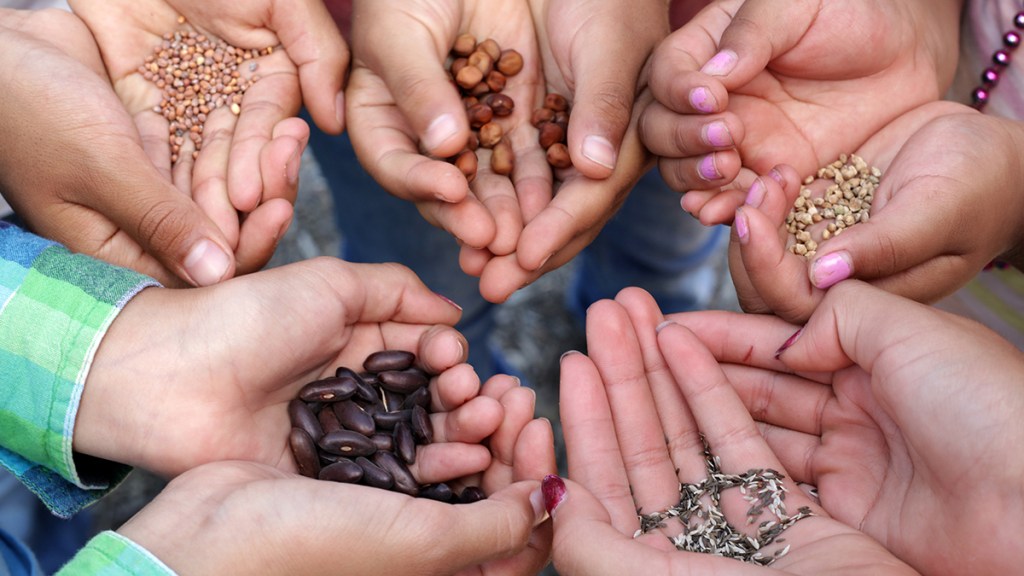
This exchange involves sharing viable flower, fruit and vegetable seeds you no longer need or want with another person who will give you the seeds you desire in return. Seed swaps can be done in-person, by mail or via seed-swap events (more on that below). “The seed swap is a fundamental part of history; seeds were one of the first commodities traded,” says Kathy Jentz, editor of Washington Gardener Magazine and the force behind National Seed Swap Day. And trading early in the year allows you to start growing seeds indoors so you get a head start on your garden.
“It’s a good way to get a bunch of seeds for the cost of one,” adds Dave Whitinger, executive director of the National Gardening Association. “There’s also a lot of varieties that it’s hard to find a seller for, but people are growing them in their garden so they’ll save the seeds.”
How to join a seed swap
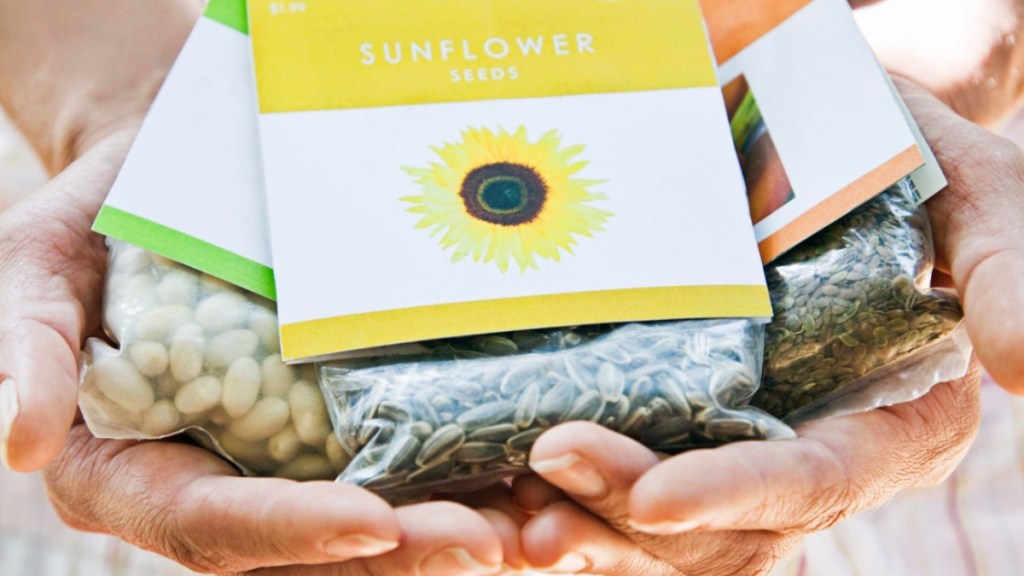
One of the easiest ways to engage in this fun practice is by attending an event being held in honor of National Seed Swap Day. Visit Seed Swap Day to find one near you, as well as instructions on what to bring. If you’re unable to get to the event, can’t find any available or simply don’t have the time, however, there are plenty of other ways you can share and collect new seeds.
“Try to find an in-person gardening club in your area, as they might host in-person swaps at a local church or park,” advises Kate Van Druff, who shares gardening tips at BunnysGarden.com. Your local Master Gardeners program is also a great resource, as they often hold them, as well.
Another close-to-home way to score new seeds? Visit the library! Many now have their own seed libraries featuring local and heirloom varieties of plants. They’ll allow you to “check out” a packet to grow your own vegetables and flowers, give them to a friend or participate in a seed swap — all with the hope that you’ll donate seeds again at the end of the season.
Using the internet for seed swaps
Sometimes options may be limited in your area, or you’re hoping to find a specific variety of a plant you can trade for. Thankfully, the Internet is full of resources to make seed swapping a breeze! Websites like Seed Savers Exchange and Frugal Garden Seed Swap allow you to find people swapping seeds around the country.
“Facebook seed swap groups also make it so easy to create a post of what you have to share and what’s on your seed wish list,” says Van Druff. “Others can comment there and private message you to arrange a personal swap.” Some Facebook groups even host seed swap games, which have their own rules to keep them fun and fair.
The best seeds to swap
There are no wrong options when it comes to swapping seeds, but experts say there are a few things you may want to consider when deciding what to share. The first: Opt for heirloom seeds over hybrid varieties. The reason: “You can save the seeds every single year because it’s the exact same thing grown over and over again,” says Whitinger.
Another smart choice if you’re swapping with someone out of state: smaller and flatter seeds. “You’ll have less worry about the seeds arriving safely and postage costs remain lower,” shares Van Druff. “Swapping larger seeds like beans and pumpkins will require a bit more packaging, care and postage.”
Tips for mailing seeds
When participating in a seed swap over the internet, you’ll need to make sure your seeds to get to their destination safely. The first step is choosing the right packaging material. Whitinger recommends tucking seeds into padded envelopes. “Then there’s no danger of the seeds getting crushed or destroyed.” A piece of cardboard inside the envelope can also protect seeds in transit.
If cost is a concern, Van Druff says your best bet is to use 1⁄4″-thick (or less) envelopes to save on postage. (Click through more ways to save money in your garden).
Easy trick for storing your seeds
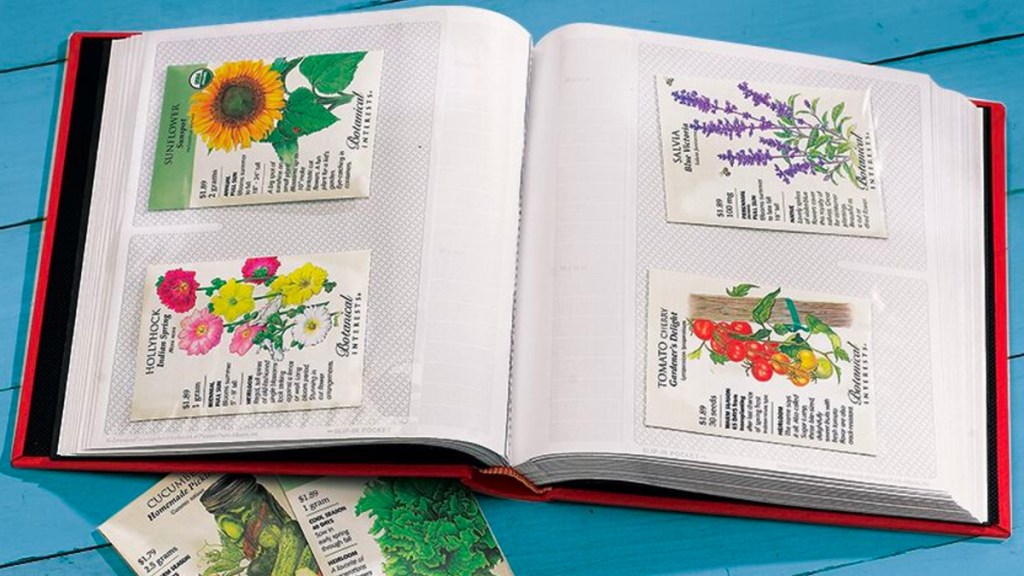
Whether you collect new seeds from a seed swap or your local library, the packets can quickly become a mess when you’re holding onto a lot. The simple way to keep them organized: Store them in an old photo album. The clear photo sleeves are perfect for holding the packets, and you’ll be able to easily see what seeds you have at a glance just by flipping the album pages.
Clever ways to start your seeds
Once you have all the seeds you need for your dream garden, you can get a jump start on planting. Here, 3 genius ideas:
1. Use a milk jug
To start your seeds outdoors, no matter how cold it gets, try this: Cut a clean plastic milk jug horizontally, leaving the two pieces still partially attached. Poke holes in the bottom and fill with pre-moistened potting soil. Sprinkle seeds on top, lightly water and close the jug again, using a piece of tape to hold together. “It makes a little miniature greenhouse,” he says. “This is another good reason to seed swap as early as you can, because you leave it out there all winter.” Once the seeds germinate in spring, plant the seedlings in the ground or move to a pot.
See this trick in action here with this video from the pros at Garden Gate Magazine:
2. Use a lemon
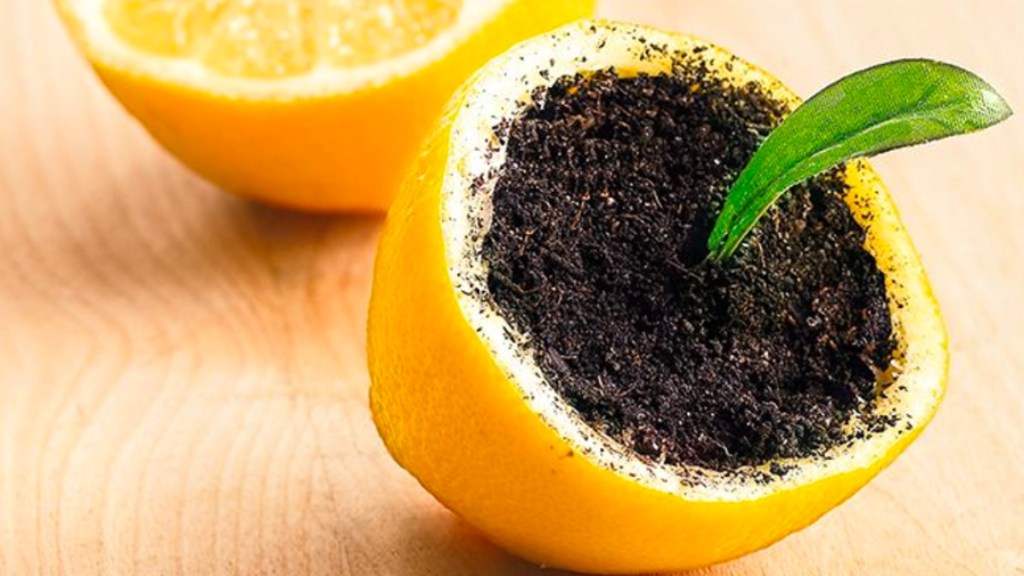
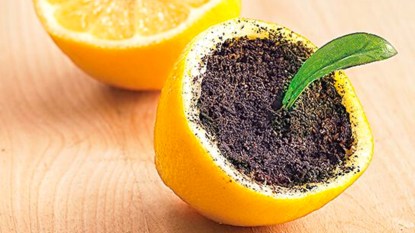
For indoor seed starting, there are also a couple of simple, cost-effective options you can try. One easy trick: Remove the fruit from half a lemon; poke a hole in it for drainage. Add soil and two seeds; water as needed. In spring, plant the “pot” outside. The rind will nourish the soil as it decomposes.
Related: 10 Genius Reasons Not to Toss Your Citrus Peels – Using Them to Nix Stress Is Just One!
3. Use eggshells
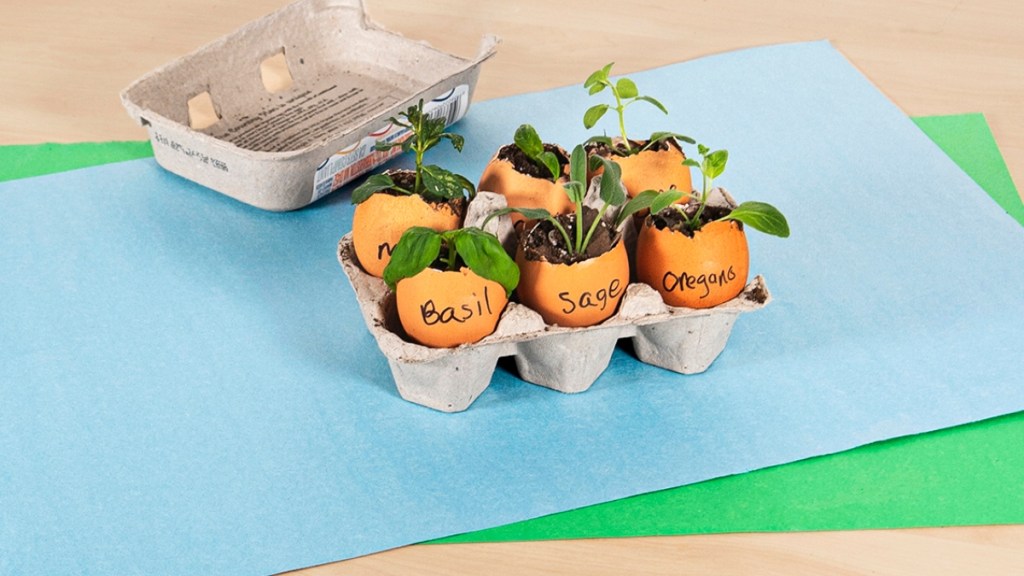
Eggshells are also great for growing seedlings! To do: Crack the egg open by tapping a spoon on one end and removing the top portion of the shell. Empty out the shell then boil for 5 minutes to sanitize. Poke a hole in the bottom of the shell, then add your soil and seeds. Once the seedlings are ready to plant, just place the shell right into your garden. So easy!
A version of this article originally appeared in our print magazine, Woman’s World.
For more helpful gardening and tricks, keep reading!
Green Thumbs Are a Myth — Follow These 9 Rules To Get Your Garden Growing No Matter What
Plant Pros: 7 Genius Ways to Water Plants While You’re Away + One Hack Never To Try
Garden Pros: Attract Butterflies to Your Yard with These Easy-Care Flowers


