Home
Live a Life of Luxury With This DIY Lavender Goat’s Milk Soap
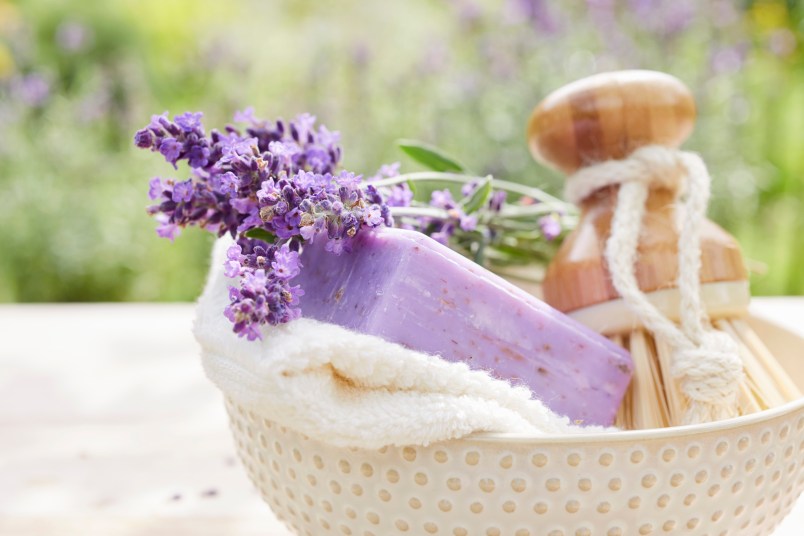
Whether it’s stress from work or just general tension you’re feeling, it’s hard to develop your own self-care practice to help you unwind at the end of the day. But now, you can turn on the relaxation right from your shower with this easy-to-make DIY lavender goat’s milk soap. This soap recipe creates a fragrant, flowery scent that will have your skin feeling soft as ever. To make this DIY lavender goat’s milk soap, follow the recipe below.
Materials
- A soap mold (a loaf tin, an old butter tub, a yogurt pot, or cupcake tray will also work for this recipe)
- 24 oz. goat’s milk melt and pour soap base, such as one from Our Earth’s Secrets ($14.95, Amazon)
- Lavender essential oil
- Large knife and a fork
- A microwavable jug
- Weighing scales
- Scissors
- Dried lavender (optional)
- Purple soap coloring (available at craft stores)
- Hessian and string for decoration (optional)
Instructions
- This soap looks lovely when made in two layers, so start by weighing out your first thin layer. To fill a loaf tin, you will need six to seven ounces of your melt and pour soap.
- Chop the soap into small chunks (this will help it melt quickly), and then put it in the microwavable jug and into the microwave for 20-second intervals on high heat until you see the soap form a liquid. Continue to microwave the soap in intervals until it fully liquidizes and there are no more chunks of soap left.
- Now, add your essential oil until you get your desired smell (usually about eight drops does the trick), and add your purple soap coloring if you have it. Mix it all together using a fork and pour it straight into your soap mold. Allow the soap to cool at room temperature for 30 minutes. Don’t be tempted to poke or move it for at least 10 minutes. Once 30 minutes have passed, your first layer should be hardened and you should be ready to create your second layer.
- Prepare your dried lavender by simply pulling the leaves off until you have a pile.
- Follow the same process as the first layer while using the remaining melt and pour soap, but this time, don’t add the coloring. So once again, chop the soap into chunks and place it in the microwavable jug and into the microwave for 20-second intervals until all the soap has melted.
- Once the soap has melted, you just need to add your essential oil (roughly 12 drops) and your lavender leaves, mixing it all together with your fork.
- Pour the mixture into the loaf tin over your first layer and leave it to set at room temperature.
- After one hour, place the tin flat in the freezer for another hour to ensure it fully sets.
- Once you have finished, just tip your mold upside down, give it a few taps, and the soap will simply slide out! If your soap doesn’t slide out, then put it back in the freezer — this is a sign that the soap isn’t ready and needs a little more time.
- Now, chop your soap up into large blocks. You can tie a thin piece of hessian around the soap to create the perfect presentation for your bar of soap.
This project was originally created by Laura Kowalski. For more, check out our sister site, Yours.

More From Woman’s World
Entertain the Little Ones With a DIY Bird Feeder
3 DIY Jobs That Even Folks Who Hate DIY Can Do
Painted Pinecones Are the Perfect No-Water ‘Flowers’ for Your Table