Home Pros’ Genius Hacks Prevent Ice Buildup in the Freezer So the Appliance Lasts Longer
Plus, the dollar bill trick that tells you if the freezer seal is leaking
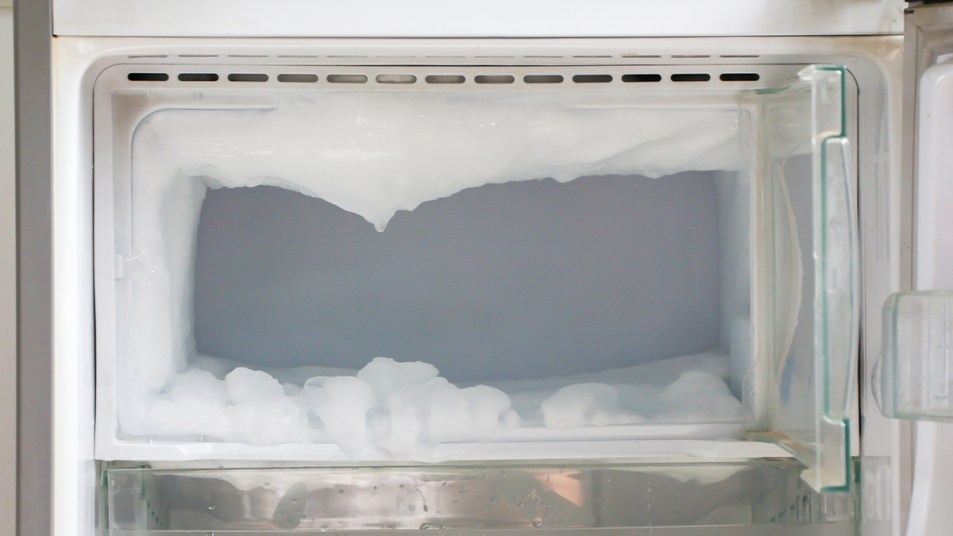
You’ve packed your freezer full of veggies, fruits, frozen snacks, leftovers and so much more. But somehow it’s also become filled with ice … and we’re not talking about useful cubes. This accumulation of ice can affect both the flavor and texture of the food inside — especially anything that isn’t properly stored. So we asked appliance experts how to prevent ice buildup in freezer spaces, plus the safest way to remove any that might have already formed.
What causes ice buildup in the freezer?
“Ice buildup in a freezer is primarily caused by moisture in the air that enters when the freezer is opened, condenses and freezes on cold surfaces, including the walls and coils,” says Ron Shimek, president of Mr. Appliance, a Neighborly company.
Thankfully, most refrigerators are made to stay frost-free, but it can still happen in certain circumstances. “Ice will accumulate in your freezer when the interior temperature fluctuates or when an excessive amount of moisture gets into the freezer,” adds Justin Reinke, vice president of marketing at Beko Home Appliances. “This usually happens when you open and close the door frequently, or leave the door open for extended periods.”
How to prevent ice buildup in freezer
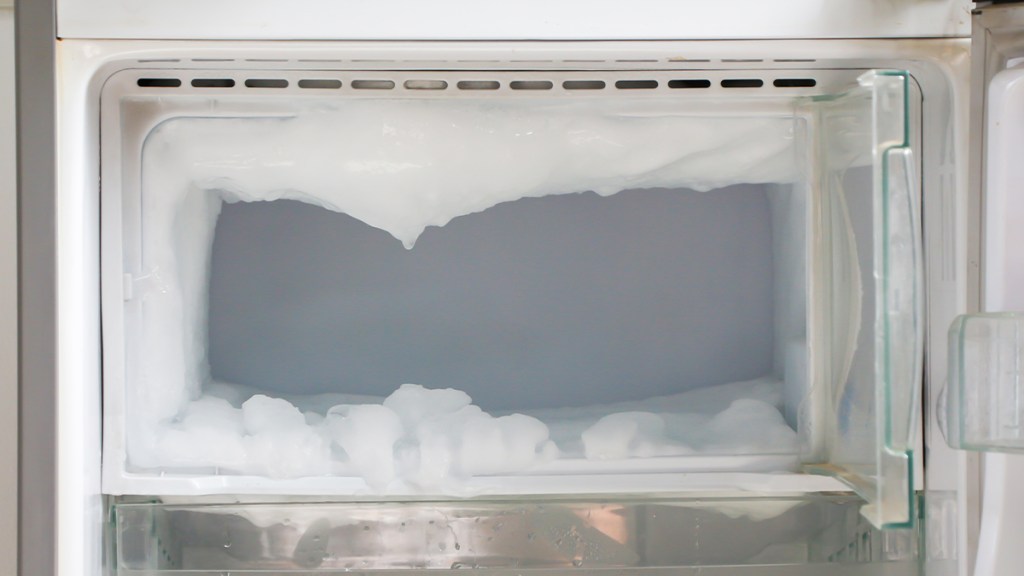
If you’re worried you may find excess ice in your freezer’s interior or frost on your food, there are a handful of steps you can take to help sidestep the problem in the first place.
1. Let food cool
Allow food to cool to room temperature before storing it away. “Placing hot or heated food directly into the freezer releases hot air, which can lead to ice buildup,” says Reinke. You’ll also want to ensure you only use freezer-safe, air-tight containers or bags to ensure your food stays fresh and moisture stays out of the appliance’s interior.
Related: This Simple Trick Can Help Organize Leftovers Without Using Tupperware
2. Check the seal
Check the appliance’s door seals regularly to make sure the seal is tight. To diagnose a leaky seal, just place a dollar bill in the door and close it. If you can easily tug out the bill, the seal may need a facelift. To do: Wipe it down with a little soap and water to remove any crumbs and dirt (ensure they’re dry before closing the door to prevent mold growth), then apply a layer of petroleum jelly to rejuvenate a brittle seal and make it airtight again. If this doesn’t seem to help, it’s time to replace the seal.
Related: 10 Brilliant Uses for Petroleum Jelly That May Surprise You
3. Check the vents
“Periodically checking and cleaning the freezer’s vents helps maintain proper airflow, preventing excessive moisture accumulation that leads to ice formation,” adds Shimek. The easy how-to:
- Locate the vents: They’re often located at the back, top or sides depending on the model.
- Inspect them: Check for any obstructions such as ice buildup, food packages blocking the vents or debris that might hinder proper airflow.
- Test the airflow: Turn on the freezer and feel for airflow around the vents. You should feel a steady stream of air. If airflow seems weak or absent, it might indicate an issue with the vents.
- Defrost the vents: If ice buildup occurs around the vents, defrost the freezer and clean the vents to ensure proper airflow.
4. Avoid a lot of opening and closing
Another simple fix: Cutting down on the number of times you open the freezer or door, especially on hot and humid days — of course, you’ll want to avoid leaving it open for too long, as well. “The coils will instantly freeze any water or humidity and, with enough moisture, will create ice,” explains Reinke. “Too much ice on the coils will restrict the flow of cool air and your freezer’s performance.”
4. Keep it organized
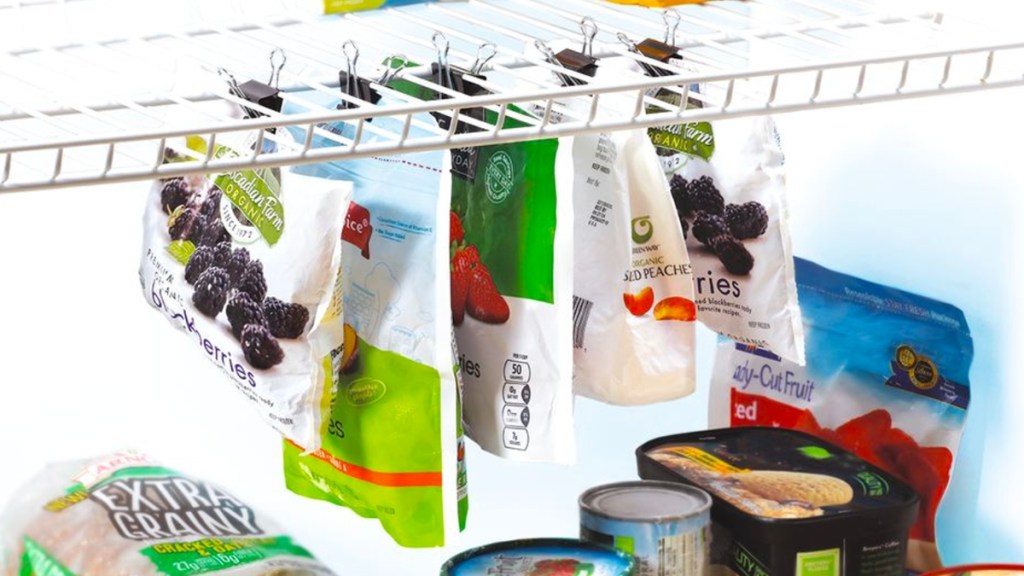
You can help maintain the freezer’s efficiency by keeping it organized, says Shimek. This ensures proper airflow. For instance, consider using binder clips to hang bags of frozen food.
You can also organize your freezer using plastic bins as seen in this TikTok video from @thetidyhomenashville below:
How to remove ice buildup from the freezer
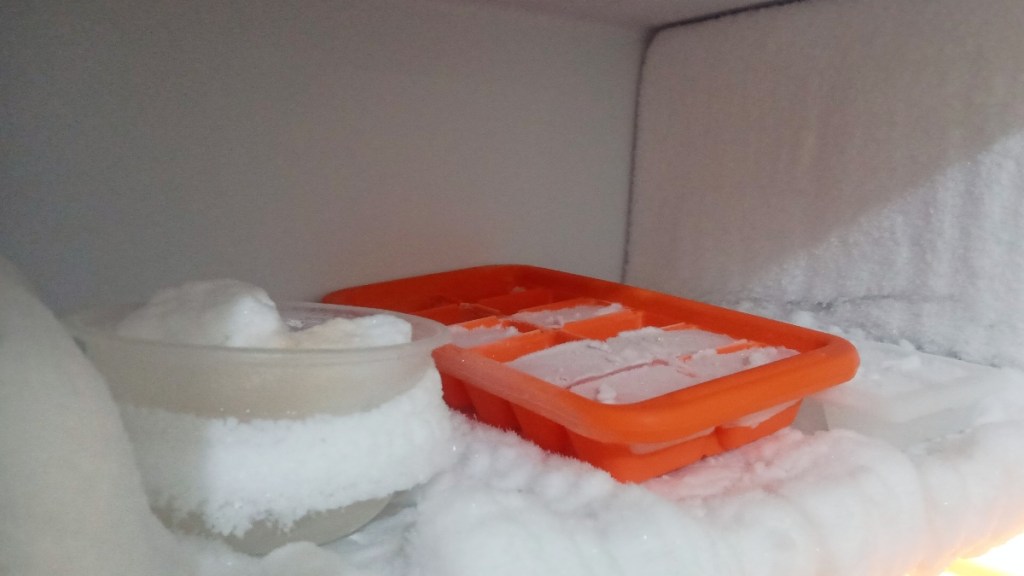
If you do notice a build up of ice inside your freezer, you may be wondering the best way to eliminate it. Below, Reinke shares his 3-step approach.
“I’d recommend these simple steps for both refrigerator and freezer – which are wise to do several times per year regardless if you see ice buildup or not,” he advises. First, turn off the appliance. then:
- Empty the contents of your refrigerator and freezer, placing perishable foods in an ice chest so they don’t have the opportunity to thaw. (This is also a good time to discard freezer-burned or expired items you haven’t noticed before).
- Wipe down all shelves, drawers and interior surfaces with warm, soapy water. “I don’t recommend using a heavy disinfectant; warm water and a mild, all-purpose cleaner is best for surfaces that come in contact with food,” he says. Then dry with a towel.
- Open the appliance doors to let it defrost naturally. “This is the only time a manufacturer will proactively advise you to keep refrigerator/freezer doors open!” he explains.
What *not* to do when removing ice from a freezer
“The biggest mistake when removing ice buildup is using sharp tools like knives or picks to chip away at the ice, risking damage to the freezer’s interior or puncturing the coils,” says Shimek. “Also avoid using a hair dryer to melt the ice, which can melt the lining of the freezer along with the ice.”
The safest method is to turn off the appliance and let the ice thaw naturally using the method as described above. Tip: Place plenty of towels around the freezer and inside to absorb the water as the ice melts. “Patience is key to preventing any harm to the appliance,” adds Shimek.
For more kitchen appliance secrets, keep reading!
5 Quick Hacks That Will Make Your Kitchen Appliances Last Longer
How To Clean Stainless Steel Kitchen Appliances and Pots
5 Simple Ways to Add 5 Years to Home Appliances (and Save Yourself Mucho Money)

